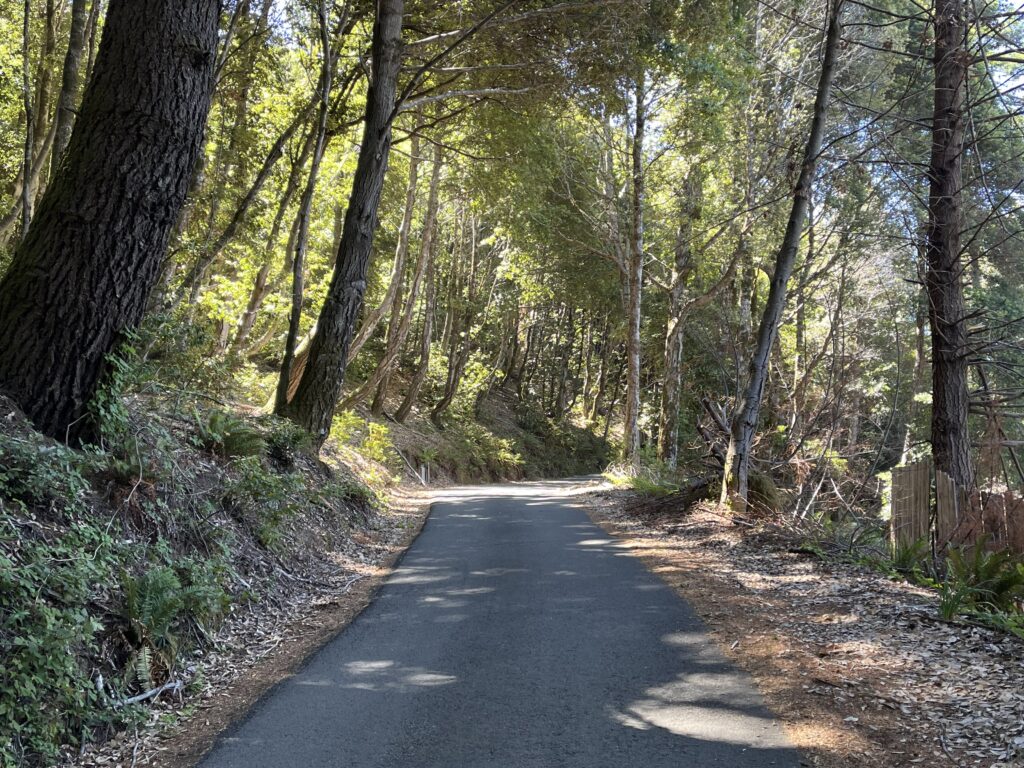
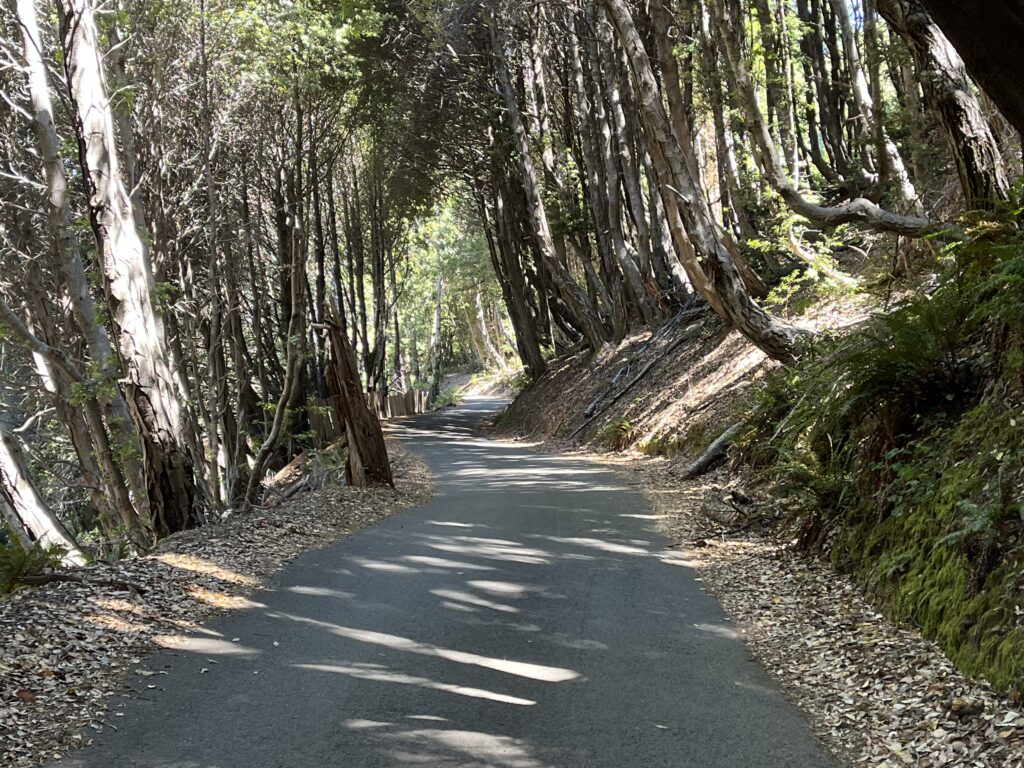
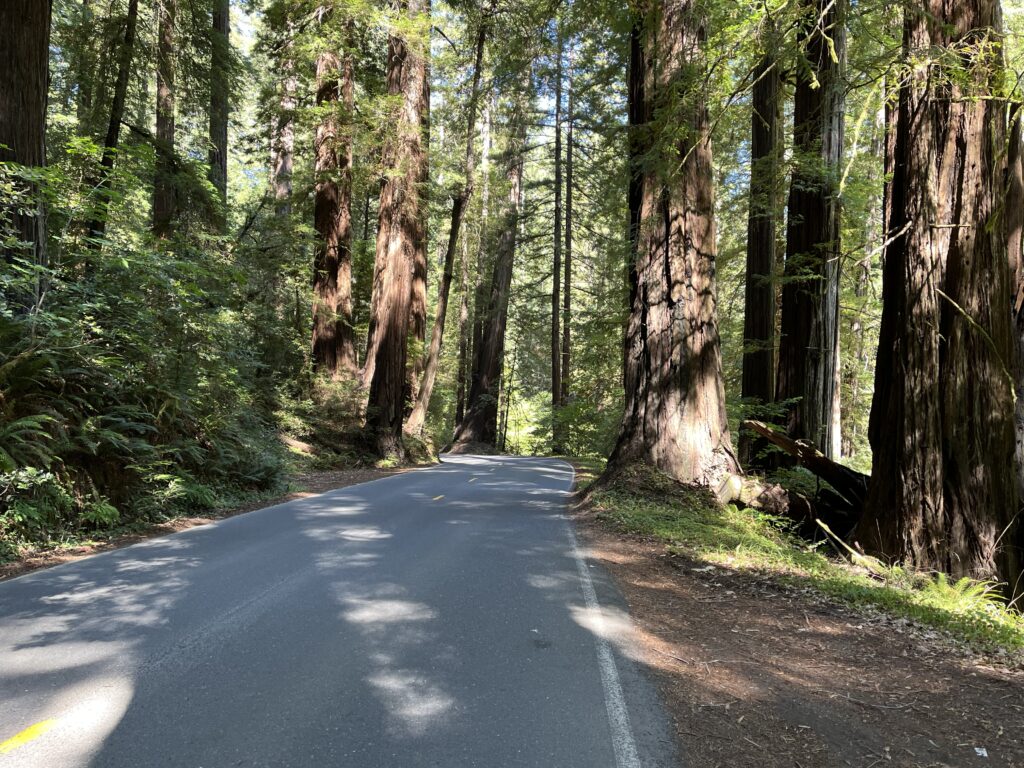
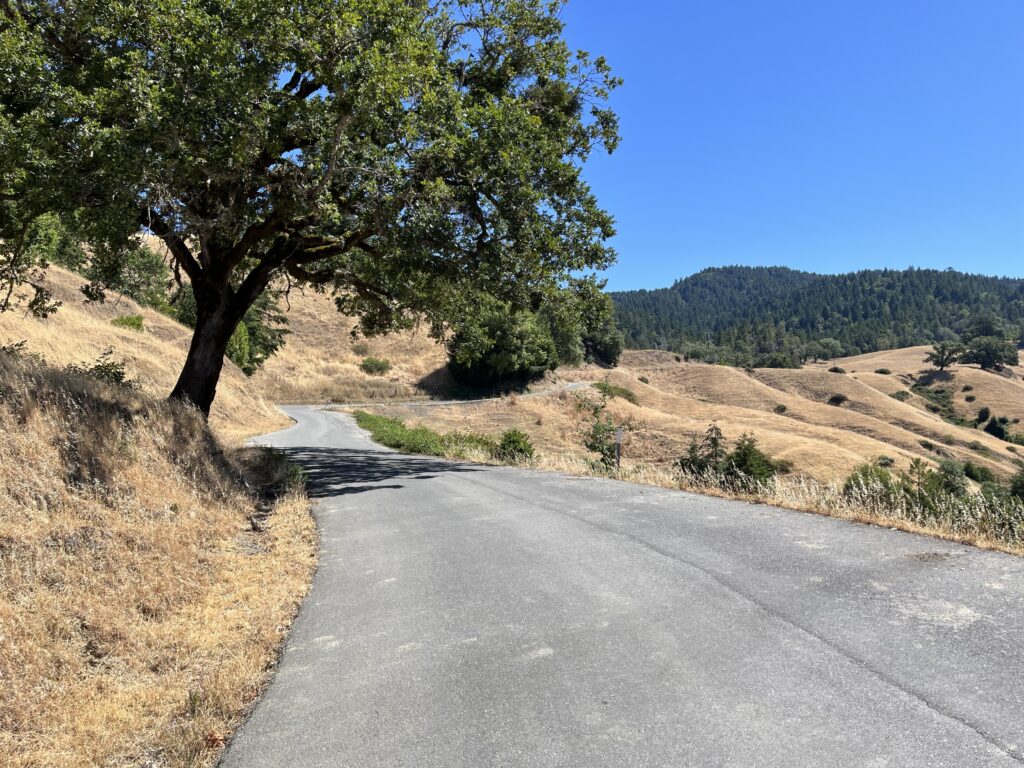
Distance: 64 mi. out and back Elevation gain: 1790 ft.
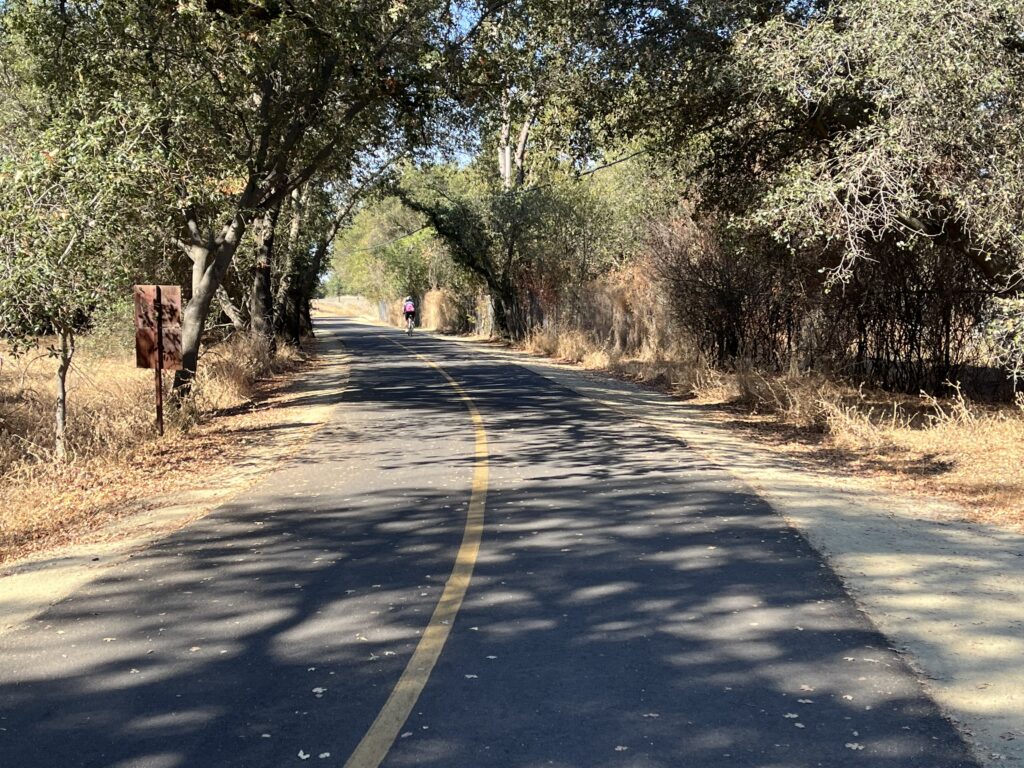
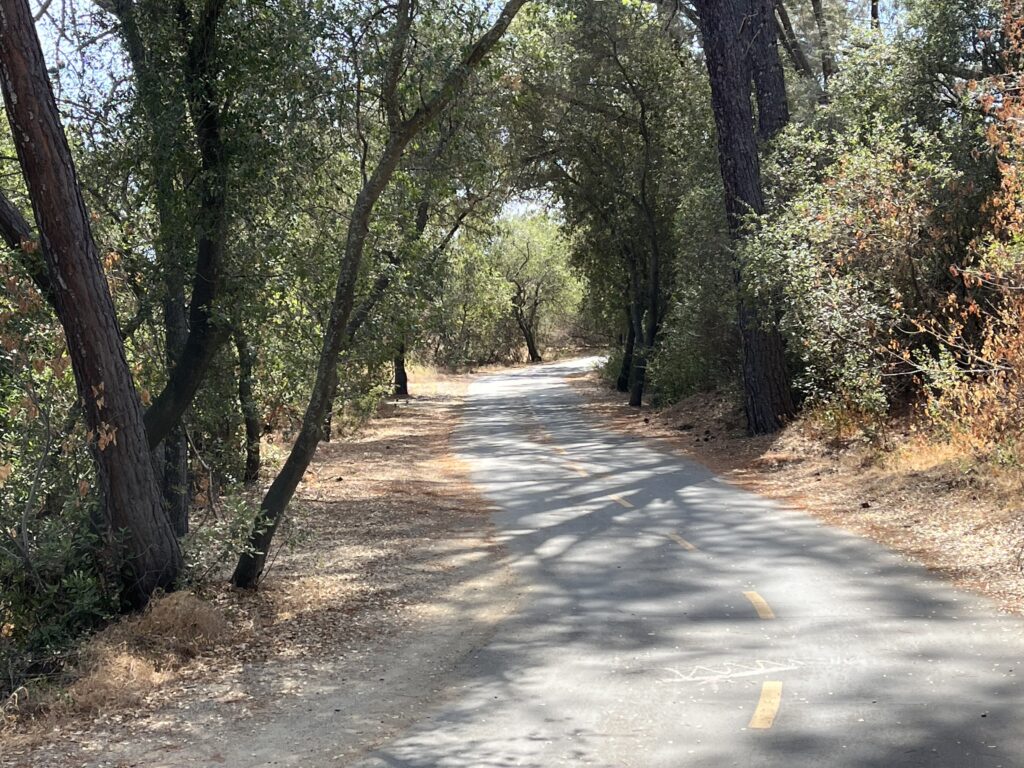
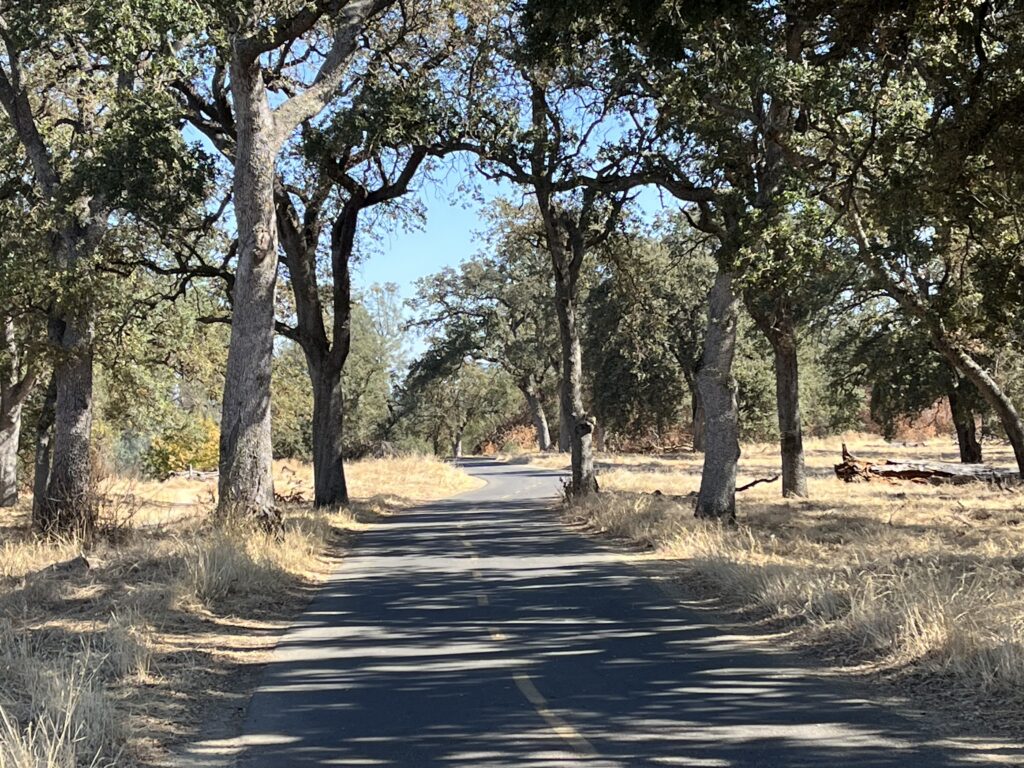
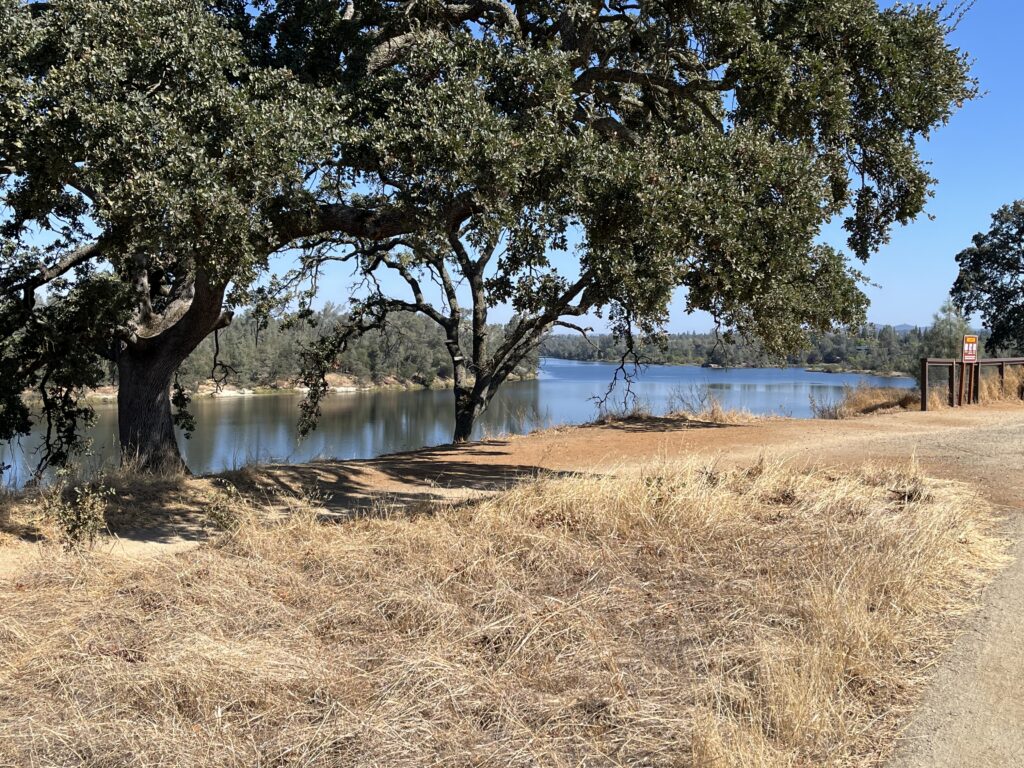
This ride (less commonly called the Jedediah Smith Memorial Trail) is probably the most popular rec trail in California, and nearly the best (I’m sticking with the Sacramento River Trail). On weekends and midsummer it’s slammed with walkers, dogs, joggers, skate-boarders, roller-bladers, and guys in baggy pants riding electric bike/motorcycles with 4-inch tires at 6 mph. So I wouldn’t go near it then. But weekdays in winter, fall, or early spring it belongs to us cyclists. My last ride was a Thursday in late September, and I saw about 200 cyclists and almost no one else. In those conditions, it’s a dreamy ride—about 1/3 in lush riparian woods and 2/3 in adjacent meadows, all of it pretty and sometimes gorgeous, with abundant views of the American River and several bridge crossings..
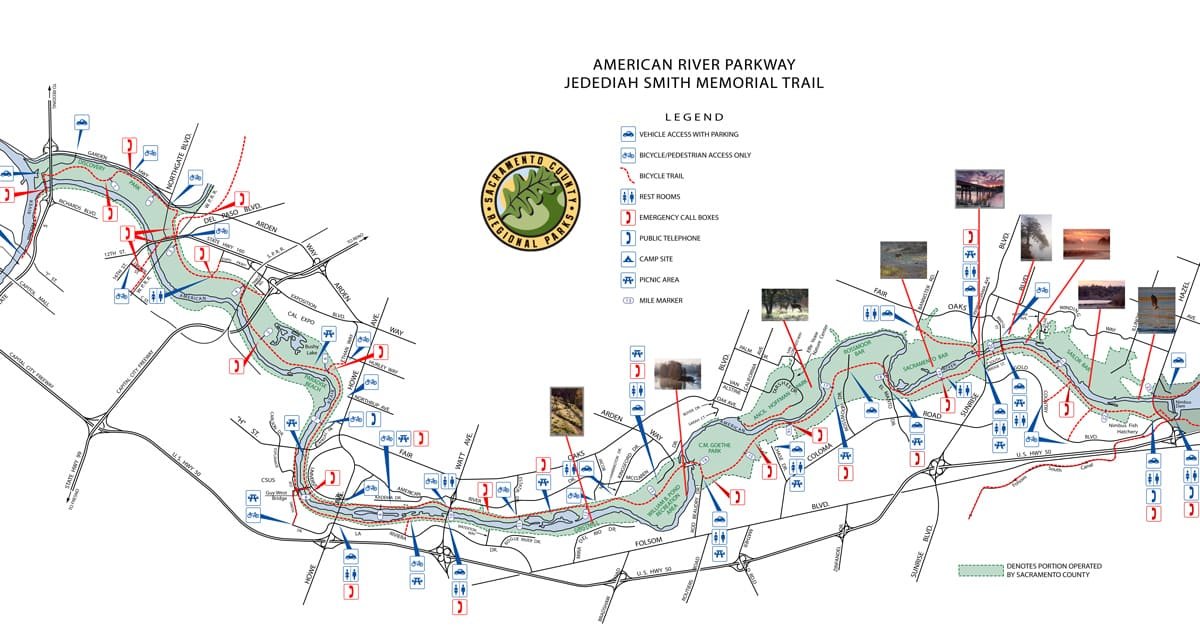
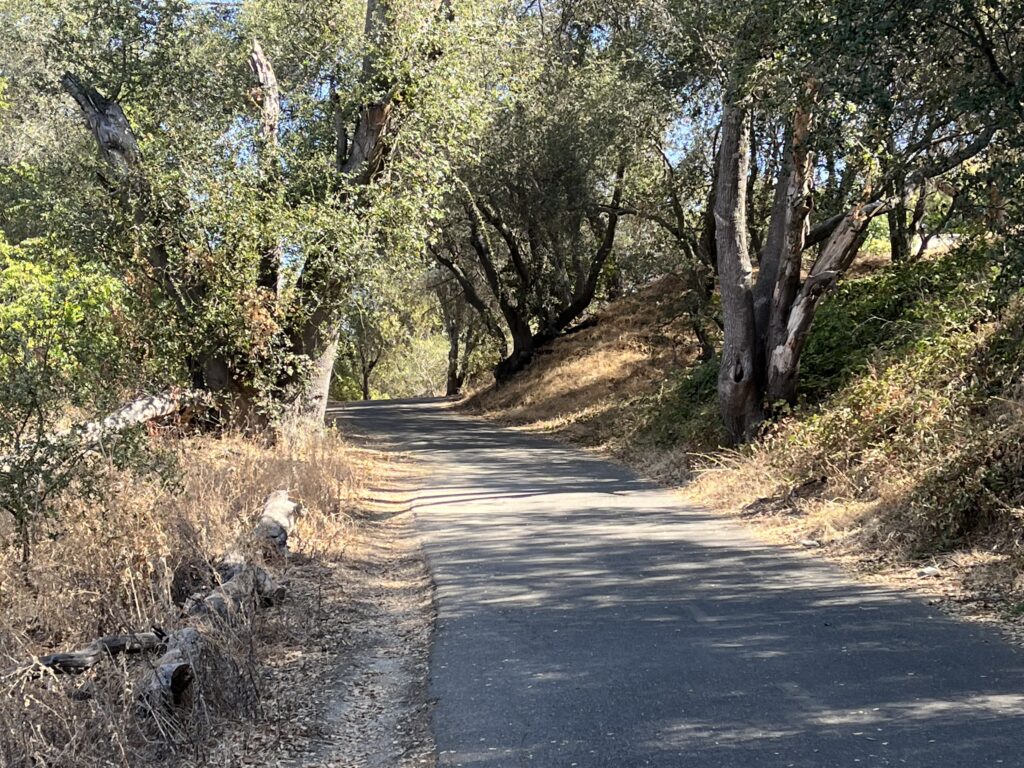
The path is mostly very small two-lane with a centerline and a dirt shoulder on both sides for the runners. The profile was obviously laid out by the planners to maximize your pleasure, constantly serpentining through little rises and dips. The curse of many bike paths that wind through woods is a bumpy road surface from expansion cracks and root damage, but the ARP is blissfully, spectacularly free of such nuisances—the road surface is amazingly good throughout. There are bathrooms and drinking fountains along the route (see the map below).
A guideline common to all multi-use trails: Even if you catch the Parkway on an uncrowded day, you will meet a lot of people, there are a million blind corners, and the road contour is small-scale, so don’t try to time-trial the route—relax, get your nose out of your computer, take in the scenery, and obey the 15mph speed limit.
RidewithGPS covers the AMP, but there are more informative maps on other websites. Here’s my favorite (I particularly like the mileage markers):
You can find the electronic version of this map at:
runsra.org/community/sacramento-running-routes/
and you can get it in paper format.
Navigating the Parkway is in one sense easy: just stay as close to the river as possible. On the other hand, there are many alternate routes and unmarked forks, and you’ll almost certainly get lost as least once or twice, but it’s all harmless since the river is always unmistakably nearby. If you go wrong, you soon debouch onto some urban street and you just turn around.
Four words of warning:
Sacramento has had trouble with homeless encampments along the Parkway, especially near the west (downtown) end.
Like the rest of the Northern California Valley, the Parkway is fried to a crisp by the end of summer. and in midsummer it’s usually 100°+. if you like cool and green, ride in the winter or spring.
Sections of the trail, mostly at the west end, are under water during periods of heavy rain.
The Parkway is officially off limits to Class 3 ebikes—that is, exactly the kind of ebike I have and you probably have. The website threatens police surveillance and possible confiscation. I saw no police and my bike wasn’t confiscated. At least 75% of the bikes I saw on the AMR were “illegal” and no one seemed concerned. This seems to be the status quo on bike trails these days.
Sixty-four miles is a lot of bike path, but it’s all essentially flat (check out that elevation gain), with all the work in a 3-mile 3-5% climb at the eastern end that gets you from the bottom to the top of the Folsom Lake dam. The Parkway becomes a bit more wooly and twisty the further east you go, but beyond that there is no particular incentive to go all the way to the eastern terminus: Your “vistas” of Folsom Dam are just a rocky hillside, you can’t ride on the top of the dam itself, and the end-point, Beals Point Campground, isn’t especially charming unless you need a bathroom.
You’re frequently alongside the American River
The scenery is delightfully sylvan for a trail that is entirely surrounded by full-on urbanity and that closely parallels Hwy 50 for much of its length. The advantages to this are you can park in nearby neighborhoods or parking lots and access the Parkway just about anywhere, and you’re never far from food. The best stopover along the route is Karen’s Bakery in Folsom, for me a must-do on any Parkway ride. They’re closed Mondays, which can be a heart-breaker if you don’t see it coming.
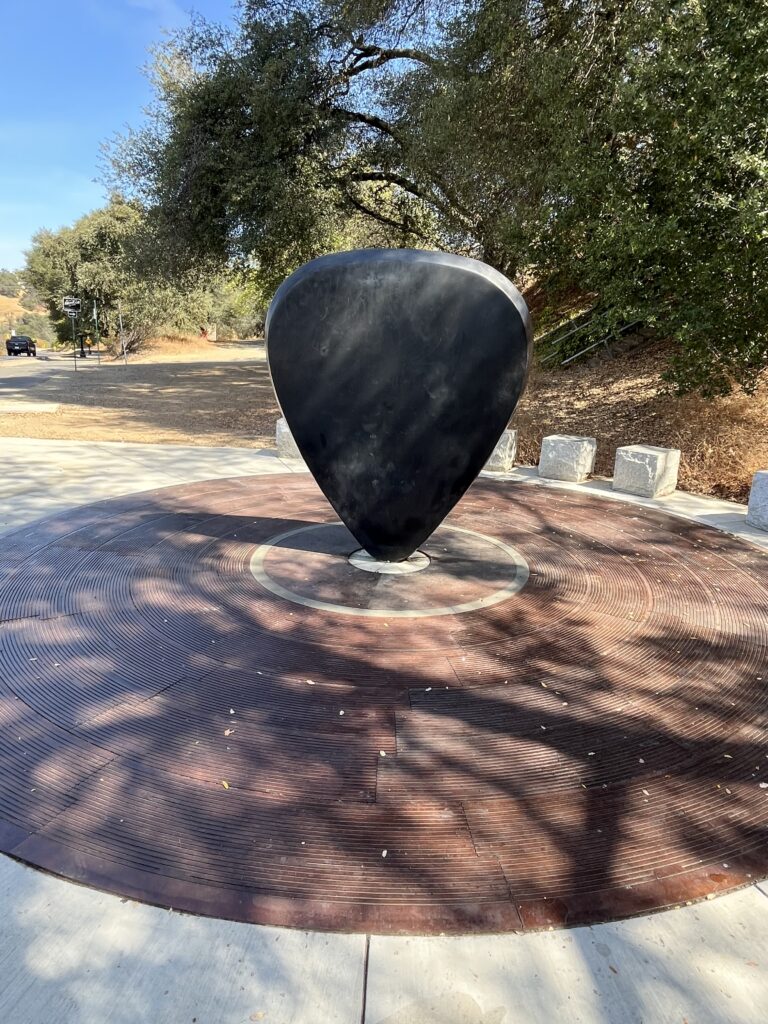
One novelty along the Parkway is the Johnny Cash Trail offshoot (in Folsom—get it?), whose trailhead is marked by a gigantic guitar pick.
Shortening the ride: My favorite miles of the ARP are in the middle—roughly from William B. Pond Recreation Area (there is no pond—Pond is the guy’s name) to the Folsom Historic Truss Bridge, which is adjacent to the Rainbow Bridge on Greenback Lane and which has a fascinating history (Miles 13-28).
Adding Miles: There’s not much. You can ride south from the western end of the Parkway along the Sacramento River into Old Sacramento, a touristy kind of faux Gold Rush town. There are several paved trails forking off the ARP and leading you back to the urban surroundings, if you want more than 64 miles of bike path. The Parkway area also has some paved or dirt singletrack that’s off-limits to bikes and can be great fun if you don’t get caught.
Distance: 39.4 out and back Elevation gain: 2064 ft
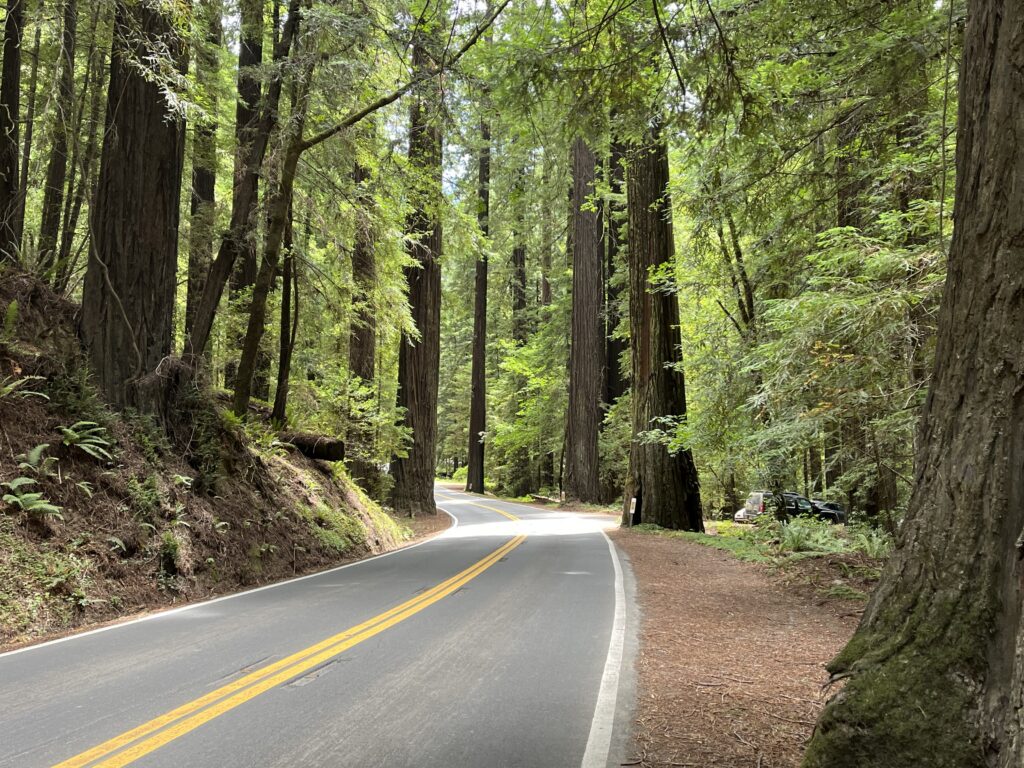
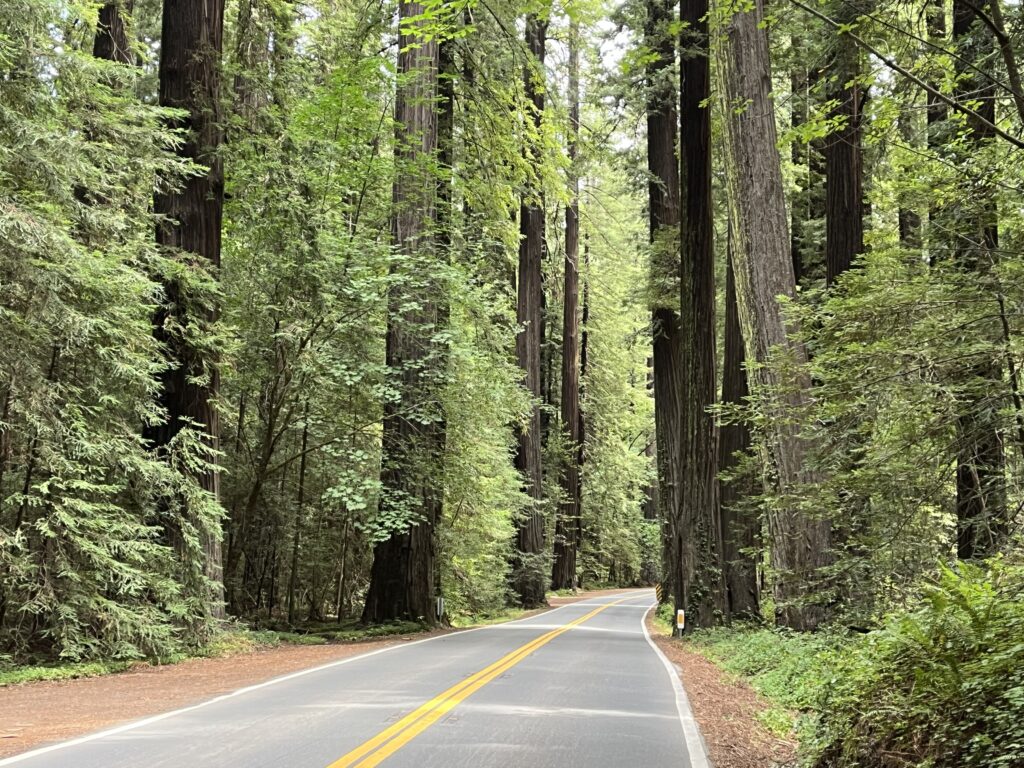
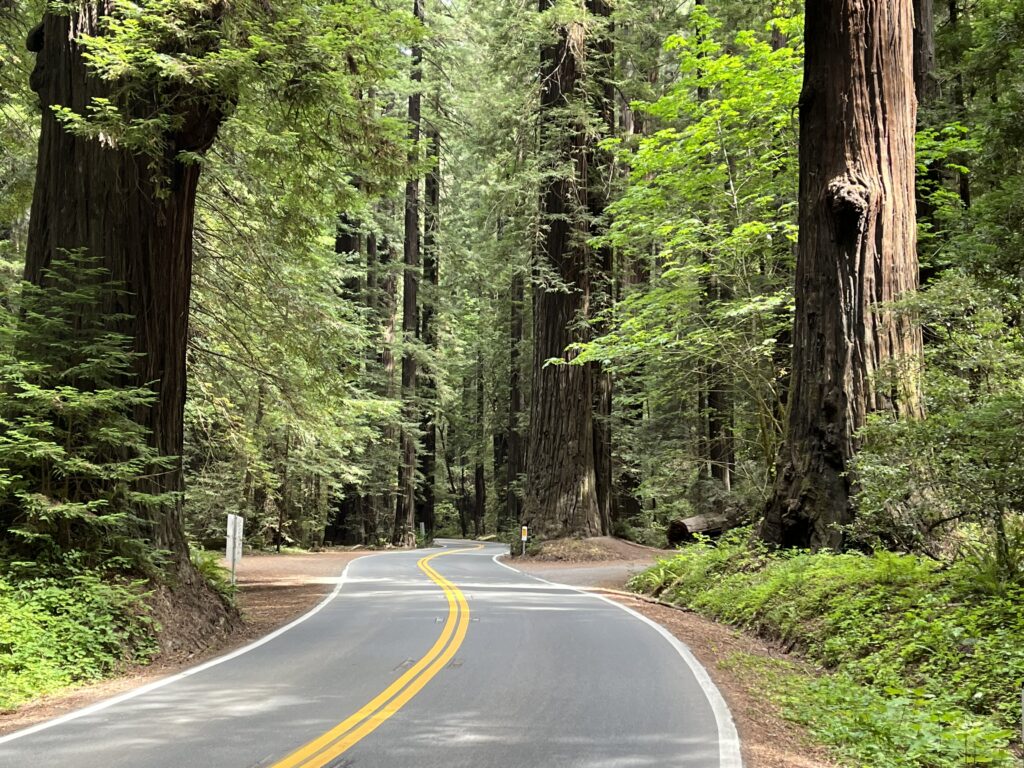
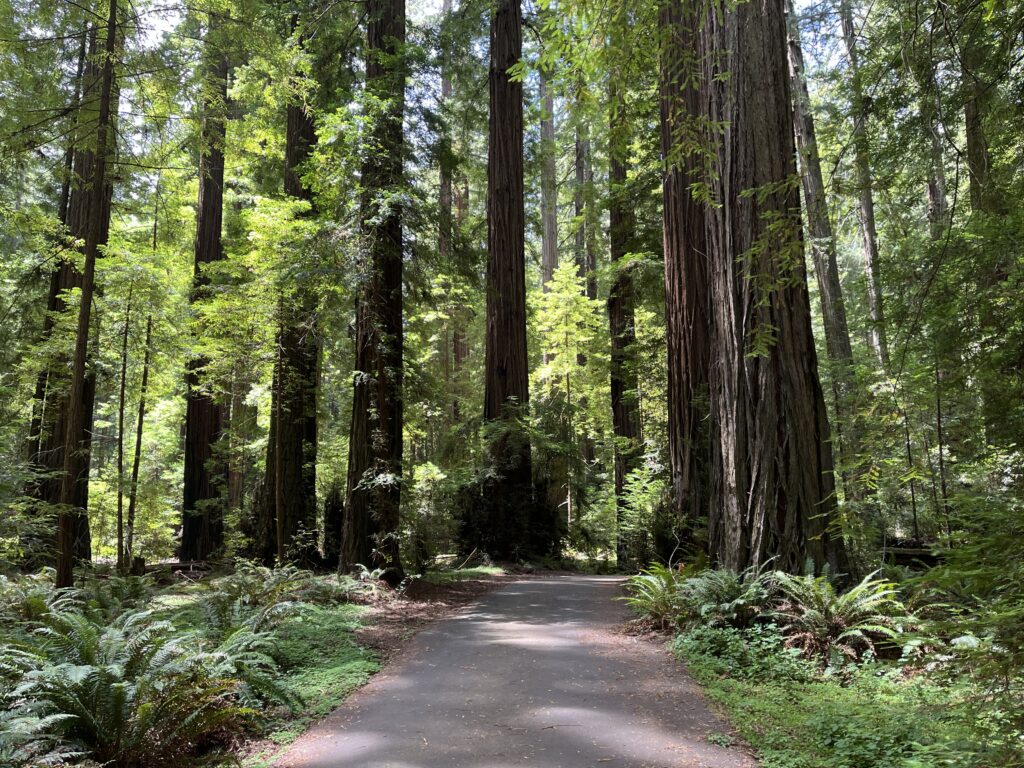
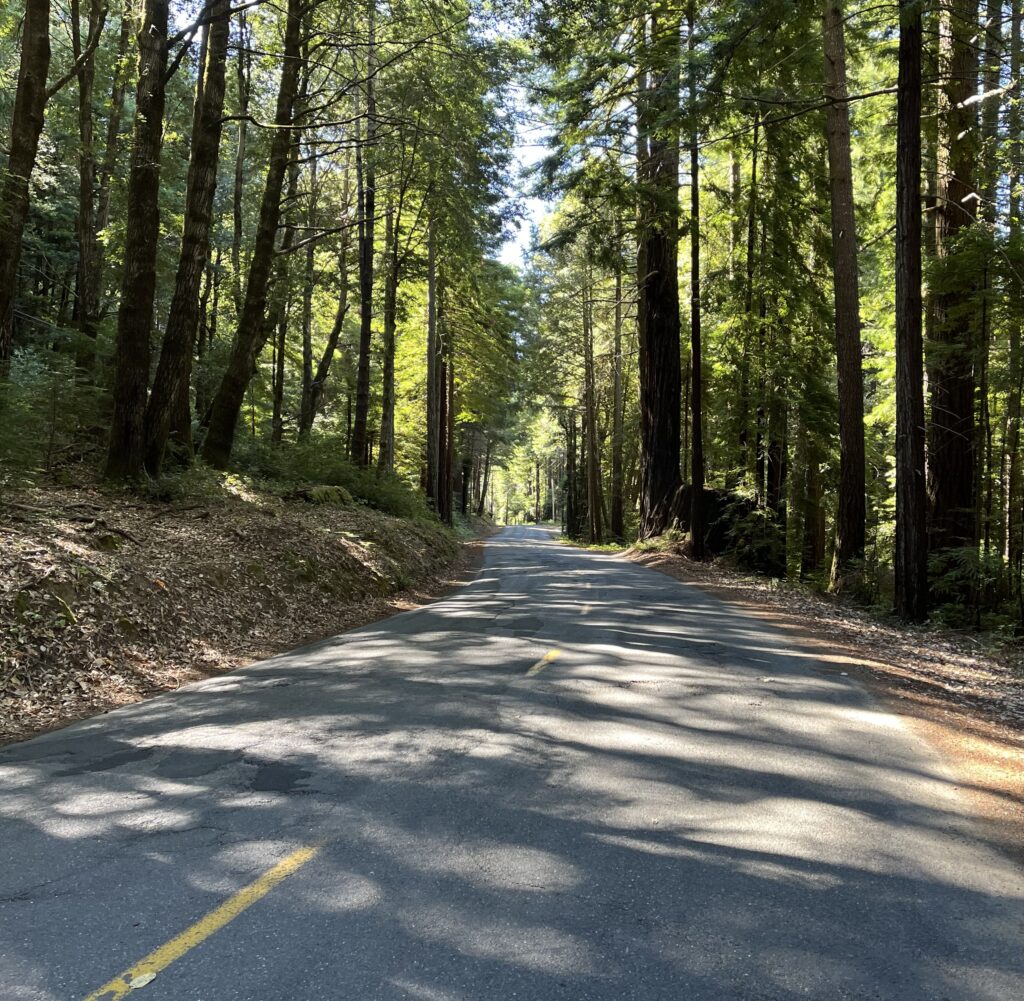
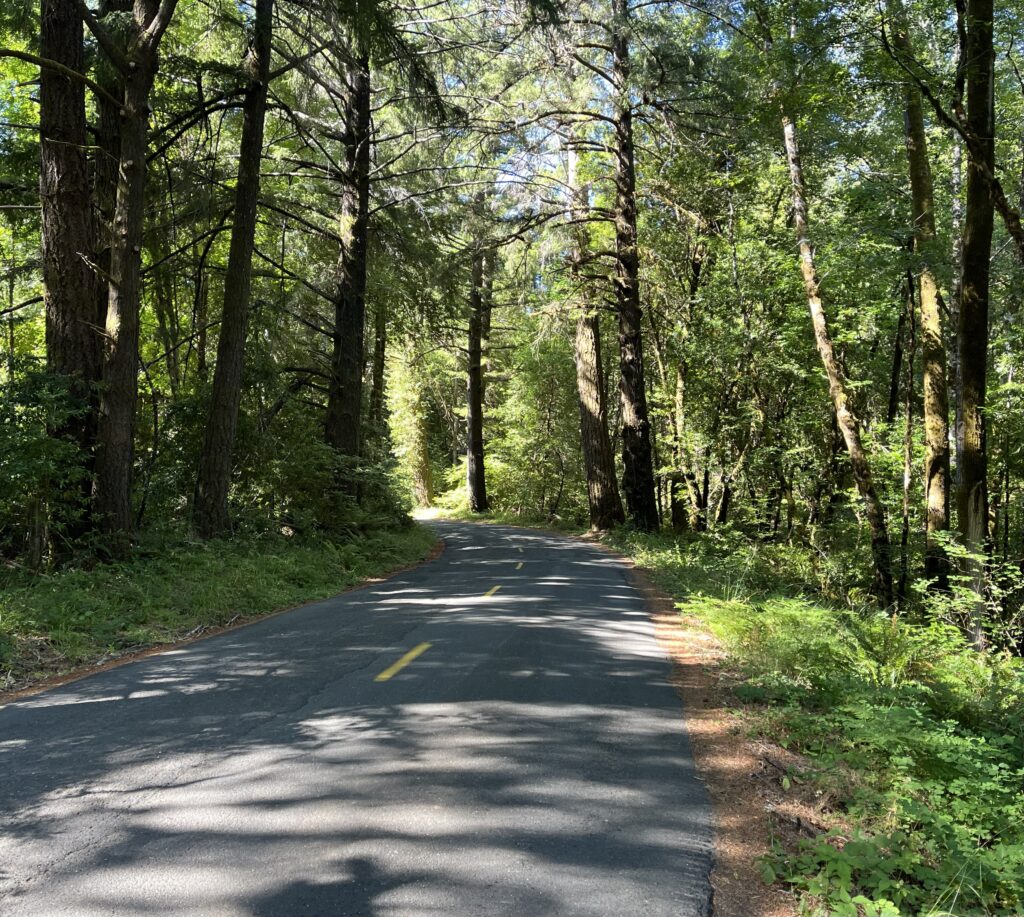
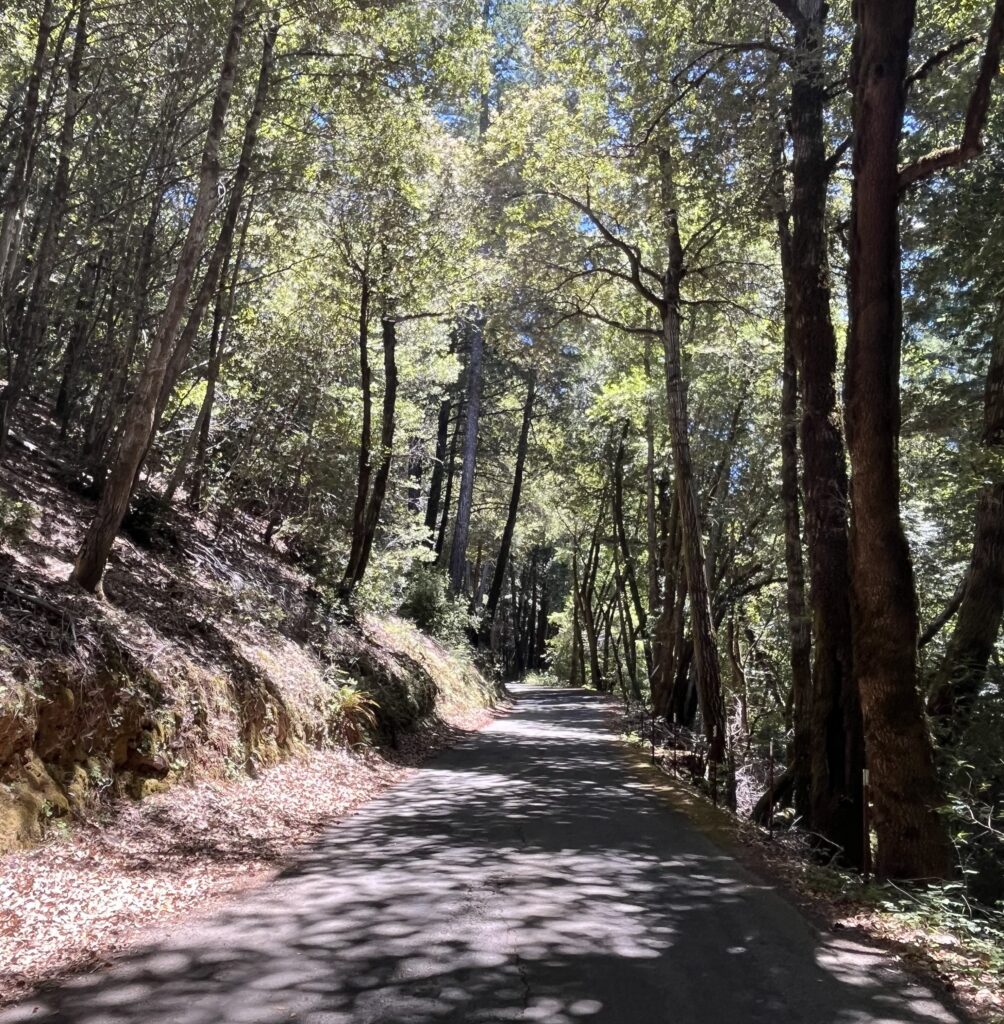
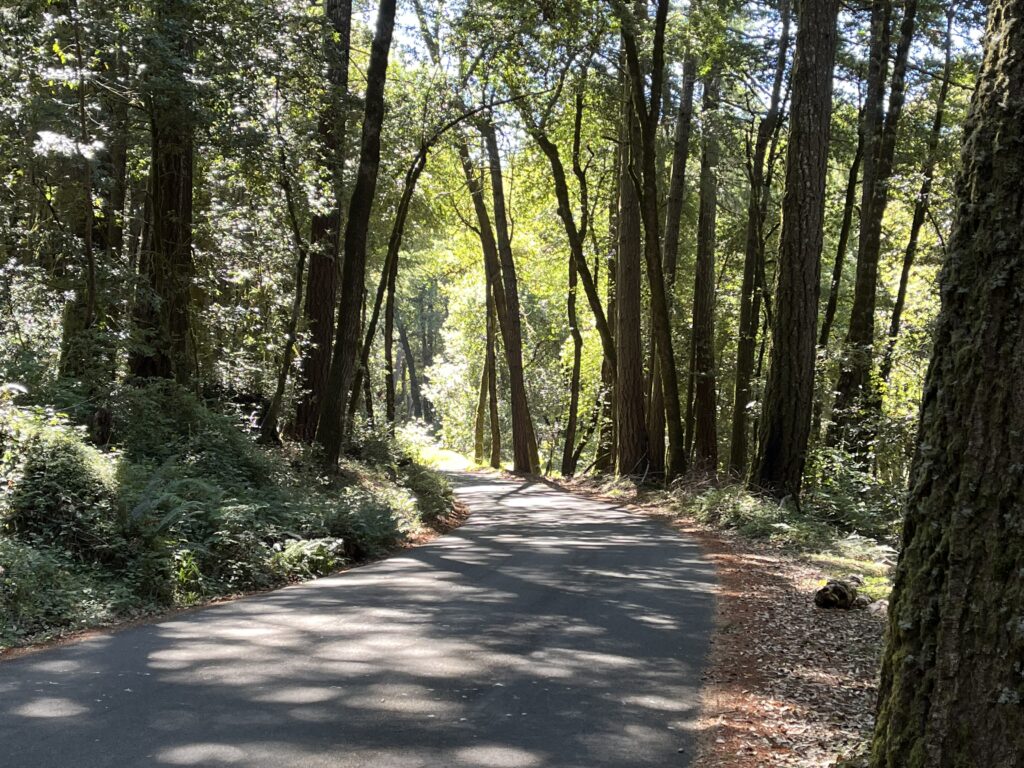
This ride continues the riding we did in the Avenue of the Giants North route. It’s more of the same—grand, world-famous redwood groves seen from a modest two-lane road with an excellent road surface and just enough variation in pitch and direction to give it a touch of character. With both rides, Hwy 101 parallels the route just out of sight the length of the route, so all the through traffic is on the highway and you only have to deal with people who have come for the trees.
Of course you could do the two rides as one, but that would give you 72 miles of redwood tunnel, which is probably more than a body needs, especially since this is riding and gawking, not time-trialing through, so you’ll want to keep a very moderate pace. I recommend doing the ride whose description best suits you. Though in fact there is little to distinguish one from the other. I think the trees on the northern ride are a bit bigger and the aura of Bigfoot kitsch a bit stronger.
I’ve included the 4-5 miles of Mattole Rd. on both routes, because they are the best miles in either route.
Both rides are essentially flat. The RWGPS elevation graphs make both look like the climbing ride from hell, but it’s a trick of the map’s scale. At least 95% of this route is 0-2% pitch. The worst “climb” is the overpass to get across Hwy 101. I really can’t imagine where that 2064 ft figure comes from. My Garmin recorded a bit over 1000 ft. gain.
Of course since this is a world-famous State Park (Humboldt Redwoods SP), there is always the fear of mobs and traffic. Maybe I was lucky, but I did the ride midday on a lovely July Saturday—in other words, peak rush hour—and the traffic was light and considerate. Perhaps a car everyf minute. And passing is unthreatening, because the road is wide and the sight lines are excellent. Most of the groves were deserted or had one or two visitors. The only crush was at Founder’s Grove, the Park’s main draw, which I suggest you avoid.
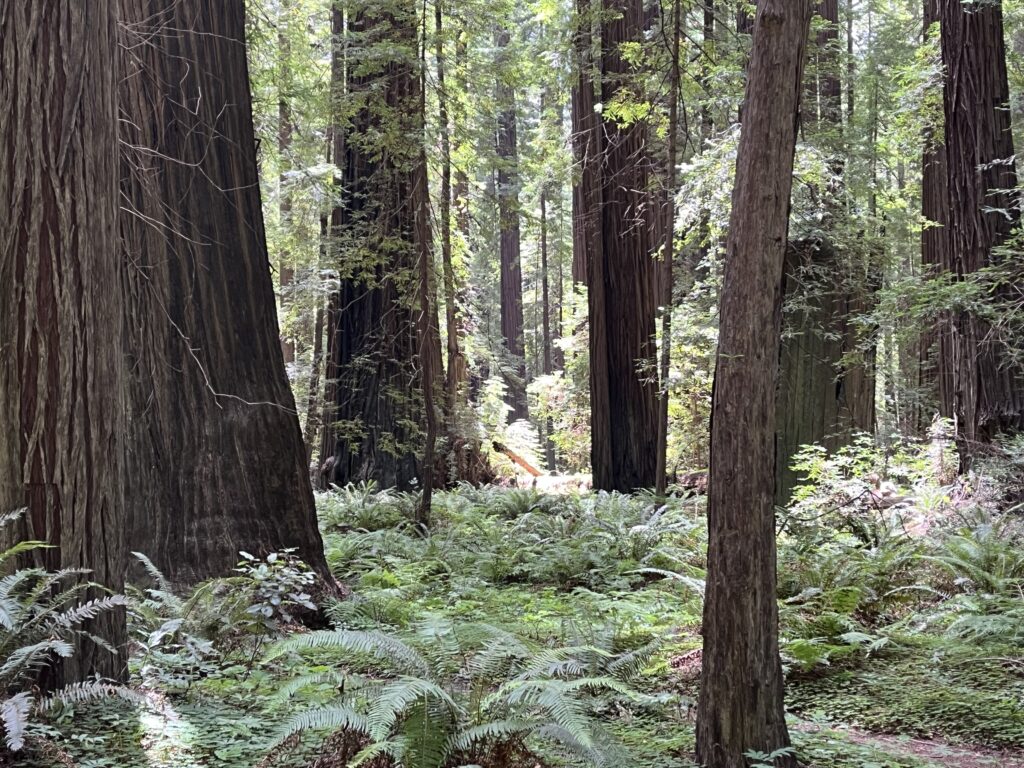
Awe-inspiring as cycling along the Avenue of the Giants is, the road still keeps the trees at an emotional distance. If you get off the main road, the dramatic intensity doubles. This only becomes apparent if and when you either ride a smaller side road or dismount and walk among the trees, and I strongly urge you to do both. The AOTG makes this easy by placing sponsored groves along the route. These groves typically have educational placards, the biggest trees, narrow roads going into campgrounds, and short hiking loops. I encourage you to stop at all of them, but to my knowledge getting up close and personal with the redwoods can be accomplished best in three places:
1. The Mahan Plaque Loop Trail: just south of Weott, this trail is especially magical. You don’t need to do it all (3/4 mi.)—walking 50 feet off the road is enough to awaken the spirits of Lothlórien. For some reason it isn’t on the State Park map, but it’s clearly signed on the road.
2. The California Federation of Women’s Clubs Grove: a stone’s throw from the Mahan Plaque Loop Trail, this grove has the longest, narrowest, and most beautiful road of all the groves on the route. Barely more than a path, it serpentines between the grandest of the trees for about 1/3 mi. The best part is, the grove is closed for what looks like a lengthy spell, so you ride around the gate and have the place to yourself. At the end of the path is an architectural wonder, a four-sided fireplace designed by the beloved Julia Morgan. This was my favorite 15 min. of the ride and not to be missed.
3. Mattole Rd.: the trees are bigger here than along the Avenue, but the real joy is that the road is narrower, so you go from riding BY the redwoods to being IN them. So don’t get to Mattole Rd., assume that Mattole is just more of the same, and turn around.
Mahan Plaque Loop Trail
The route has been kept blissfully free of development and marketing. There are only two places to buy a Powerbar or a Bigfoot keychain: Myers Flat, which is a tiny but complete community, and the Burlington Visitor Center (called the Burlington Park Headquarters on the State Park map), which is a large store-and-campground complex. The rest is trees. Weott (population c. 250) is a small collection of houses without services as far as I know which sits on Hwy 101 a stone’s throw from our route. Apparently it used to be on the AOTG but was destroyed by flood in 1964 and relocated on Hwy 101.
Start in the pleasant village of Miranda. There are 6 more miles of the AOTG south of there, but I don’t know anything about them. Ride north to the large and complicated intersection of the AOFG, Hwy 101, and Mattole Rd.. Ride Mattole westward until the road begins to climb. Turn around and ride home. Views of the South Fork of the Eel River are frequent.
The California Federation of Women’s Clubs Grove
Shortening the ride: The stars of this route are the Mahan Plaque Loop Trail, The California Federation of Women’s Clubs Grove, and Mattole Rd. Luckily they’re all within a few miles from the Mattole Rd. intersection, so I suggest you start at Mattole Rd., ride it out and back, then ride south on the Avenue as far as you want.
Adding miles: Obviously our Avenue of the Giants North ride is immediately to the north. See the Adding Miles section of that ride for other options. There are 6 more miles of the Avenue to the south of Miranda but I don’t know anything about them.
This is the best ride that I know in the Garberville area. It’s a dreamy romp through beautiful woods on narrow (often one-lane), meandering roads with next-to-no traffic and fair to excellent pavement (a rarity in Humboldt County). I love it, with one huge BUT in the middle of my joy—a 1.4-mile stretch of very steep (10-13%) rocky gravel that is, in a word, nasty.
The route includes 5 miles on Shelter Cove Rd., and I’ve declared my dislike of that road in the Briceland Loop write-up, but this stretch is as pretty as the road gets, and if we don’t ride it we have to do the route as a 32-mile out and back, which necessitates riding the Gravel from Hell stretch twice, and that’s asking a lot.
You can start the loop anywhere (there is easy parking at Thorne Junction and the Chemise Mountain Rd. turn-off) and ride in either direction. I’ve mapped it the way I have because the Chemise Mt. Rd. section is better than the Briceland Thorne section, so I’ve saved the best for later, and this way the Gravel from Hell is uphill, which is merely tedious and unpleasant, whereas doing it as a descent is wretched.
Road naming in this region always seems problematic, and our route actually goes by three names. When you turn off Briceland Thorne at Thorne Junction, you are in fact continuing on Briceland Thorne (the main road continuing west is now Shelter Cove Rd.). At an obvious intersection at the southernmost point of the loop, Briceland Thorne crosses Usal Rd. (there is actually a road sign at the intersection), turns to dirt, and drops down to the ocean—ride it if you want a challenge. Usal is dirt to your L and pavement to your R, and it’s Usal to the right that is our route. Somewhere between there and Shelter Cove Rd., it becomes Chemise Mountain Rd. I’ve decided to call the ride after this last incarnation, because it’s the most distinctive name of the three.
Park at Thorne Junction, where Briceland Thorne Rd. and Shelter Cove Rd. diverge. There is ample dirt parking at the intersection or on the shoulder of either road.
Humboldt County has a reputation for being hard on cars parked in the outback—something to do with an economy based on pot growing and a consequent dislike of strangers nosing around. If you google the issue, people will tell you that parked cars may be torched. How much you want to buy into this is up to you. I did take valuables and important documents out of my car before parking, and I was parking in a moderately “touristy” area. I had no problems. But there is lots of evidence along back roads like Chemise Mt. Rd. that weird things are going on back in there, and I would be reluctant to leave my car very far from a well-trafficked road like Shelter Cove Rd.
Head down Briceland Thorne. At first it’s a wide two-lane with center line and fairly developed, but it gets wilder, narrower, scenically grander, and rougher of road surface as you proceed. When you surprisingly encounter the public school, Whitethorn Elementary, you know the signs of civilization are coming to an end. Soon the road is a wide one-lane, and the road surface is poor, though never bad enough to make you sorry you came. The woods are top-notch.
At the intersection with Usal Rd. you might reasonably decide that you don’t want to tackle the Gravel from Hell and turn around for a tidy 20-mile out-and-back. But I hope you don’t, because the 7 miles that remain are much better than what you’ve already done—prettier woods, better pavement, narrower roadway, a distant view of the ocean, funner contour…just better in every way. One of my favorite stretches of road anywhere.
Except of course for the gravel. How bad is it? In dry conditions, it’s in good shape, so you don’t have to deal with ruts or potholes. It’s a fairly smooth surface, thin loose gravel over hard dirt and small jagged rock. If it were flat, it wouldn’t be worth a mention. But at 12%, if you have big soft tires it’s an unpleasant grind. On hard skinny tires, it may be impossible. I find it helpful to know exactly when it will be over, so before I begin I calculate the mileage at the end.
The gravel ends at a summit, and on the other side the pavement is glass, so you go from a jarring, sweating 4 mph to an effortless 25 mph serpentine. The surface, and the scenery, are marvelous all the way to Shelter Cove Rd. (2.7 mi.)
The 5 miles on Shelter Cove Rd. back to your car consist of 1 mile of hard (to 12%) climbing followed by an equally steep descent. As I said, it’s the best five miles between Shelter Cove and Garberville—very pretty, with a road contour that is first-rate serpentining. If you can catch the traffic on an off-day, it’s really very nice, though hard.
Chemise Mountain Road gets narrow
Shortening the ride: The best part of the ride is the 7 miles (14 miles RT) between the Shelter Cove Rd./Chemise Mountain Rd. intersection and the Usal Rd./Briceland Thorne Rd. intersection. But of course that includes the gravel. Twice.
Adding miles: At Thorne Junction you’re 7+ miles from the village of Briceland, which is on our Briceland Loop ride. Closer is the Ettersburg/Honeydew/Wilder Ridge Rd., which I haven’t done but which looks good, goes on seemingly forever, and is constantly climbing or descending vigorously.
I don’t recommend it, “because traffic” as they say, but you can ride to Shelter Cove. It’s a brute of a climb coming back out, and there isn’t any sort of “beach town” there—no surf shops, no taco stands, no T shirt emporia, no tourist presence of any kind. Just lots of large houses, a small marina, a funky little historical lighthouse, and a couple of places to eat. A couple of miles east of town you pass a general store.
One of my favorite kinds of ride is the back road from Point A to Point B where there is a bigger road also going from A to B, so all the car traffic goes on the big road and I can ride the back road in peace and quiet. That’s exactly what we have here. Briceland Rd., the big road, goes from Garberville to Briceland and gets all the traffic. Old Briceland Rd. also goes from Garberville to Briceland, but it does it circuitously, with a lot of up and down and back and forth. In short, just what cars hate and we cyclists love. So you have it to yourself. I saw no vehicles.
My route rides them both, but as you can see I much prefer Old Briceland Rd., and you are free to ride it as an out and back. The only drawbacks are: 1) you’ll do a lot more work (90% of the loop’s considerable elevation gain is in this half of the ride), and 2) there’s the familiar curse of the unused back road—the road surface is sometimes poor.
Then there is the question of which direction to go. You can start the loop anywhere and go either way. This stretch of Briceland Rd. is easy riding—all gentle rollers—and Old Briceland is almost entirely one big hill, so you can decide whether to put the work first or last. The hard work on Old Briceland is about the same (a mile+ of 10-14%) in either direction . So I mapped it the way I did for two reasons: I started in town so you can go to Il Forno, Garberville’s exemplary bakery, after the ride; and Old Briceland has a stretch of poor pavement on the east side of the summit, and I chose to ride it going up instead of going down.
Park on Garberville’s main street, which is Redwood Dr., and turn west onto Sprowel Creek Rd., which is easy because it’s the only stoplight in town and the only road going W from downtown (Garberville is small). Turn on to Old Briceland Rd. and get ready for a substantial climb. It’s about 5.5 miles of climbing, 1.3 miles of it fierce. It’s glass for the first half and a bit broken up for the second. My favorite part of the loop is west of the summit, where you ride along the sidehill of a lovely grassy valley, a beautiful break from the area’s typical dense forest. You should be alone.
The John B. Dewitt Redwoods State Natural Preserve
Briceland the town is about twenty houses and a large fire station. Go R onto Briceland Rd. (look behind you to see the sign on the eastern edge of town advertising a children’s nursery and a funeral parlor). Ride to Redway.
I am not a fan of the road from Garberville to Shelter Cove, which goes by several names, and of which Briceland Rd. is a section. It has a pretty nice contour and pretty nice scenery, but any of the side roads that go off from it has better of both, and the main road is trafficky. It’s all a standard two-lane with center line, but it’s busy, it has no shoulder, and the sight lines are poor so passing is frustrating for the cars. It’s not city-level traffic—I’d say maybe a car every minute or two—but each vehicle makes me tense. Why run the gamut when the side roads are empty of cars?
Old Briceland Road, west side
Assuming you want to do the loop, the 5 miles on Briceland Rd. are pretty enough and easy enough and they’re over quickly. Most of the scenery is hillside scrub, but just before you hit Redway you ride through the John B. Dewitt Redwoods State Natural Preserve, a peerless stand of enormous redwoods, and for half a mile you’re in bliss.
Old Briceland Road, west side
From Redway to Garberville the route is unmissable, trafficky, and short. Finish your ride at Il Forno (“The Oven” in Italian), a small, friendly bakery with sandwiches and salads and the priceless bennie of being able to sit at a table facing the street and watch your bike leaning safely against their railing.
Old Briceland Road, east side
Shortening the ride: I don’t see how. If you insist, ride from Briceland to the summit of Old Briceland Rd. and back.
Adding to the route: Alderpoint Rd. goes east from town and is reputed to be good riding all the way to Ruth Lake. From Briceland, you’re within riding distance of Ettersburg Rd., which I haven’t ridden but looks good, and further on our Chemise Mountain Rd. loop.
Distance: 17 mi. out and back Elevation gain: 1184 ft
There are great rides worth driving distances to get to, and then there are perfectly pleasant rides that are worth doing if you happen to be right where they happen to be. This ride is one of the latter, and well worth doing if you find yourself in Willits, California, looking for a nice ninety-minute spin. It’s a mild climb up a little canyon you’d never find unless someone told you about it, as Bestrides fan Brian told me (thanks, man). The scenery is conventional Norcal woods, the road surface is good, there is next to no traffic, and there isn’t much else to say about it.
You could park at the west end of Canyon Rd., but I encourage you to follow my map and park on E. Commercial St. on the east edge of Willits and ride the 3 miles of flat, straight farmland to Canyon. This is usually not my way, but I found these miles relaxing and pleasant and I recommend them. I parked at the city library, but there is an abundance of secure roadside parking in that area.
Canyon Road
Canyon Rd. climbs for 2 miles with a pleasing variety of contour and pitch, then descends easily for 1.6 miles to a large but unmarked intersection where Canyon ends and Tomki Rd. goes R and L. The only signage is a small sign reading “Milo,” with an arrow pointing L, posted on a tree trunk in the middle of the intersection. We’re going L.
Tomki turns out to be a surprise. It’s essentially flat, working its way up a small valley, and the road is wider and better-surfaced (pristine ouchless chipseal) than anyone has a right to expect, since there seems to be no one up there and the road goes nowhere (except, apparently, to “Milo”).
The road surface remains impeccable until it goes suddenly to hell, at a prominent horseshoe bend to the R, and in 100 ft. the pavement stops. You’d never know it, but Tomki is actually dead-ending into Hearst-Willits Rd., which you were on briefly at the beginning of the ride. Turn around and ride back to Willits.
Canyon Road
Off the bike, there are a couple of features of Willits worth seeking out. First, the Loose Caboose is a charming, friendly sandwich shop serving topnotch food. Like a lot of sandwich shops, they tend to close early (4-ish), so schedule your ride accordingly. Second, Willits is the home of one of the West’s great train museums, the oddly named Roots of Motive Power. It puts on regular events where you can ride trains, watch magnificent old steam (real steam) engines move earth, and talk to old coots about the life. I loved it. It’s at a large park a stone’s throw from where I encouraged you to start your ride. You’ll notice the train cars across the street.
Shortening the ride: It’s already short and fairly easy, but you can turn around at Tomki Rd.
Adding miles: Where we went L onto Tomki Rd. at the end of Canyon, you could go R and take Tomki south. It parallels Hwy 101 all the way to Calpella, and is a popular route for touring cyclists riding from Ukiah to Willits, but from our intersection it soon hits a major stretch of rough dirt, so unless you’re up for some serious adventure riding you won’t want to go that way.
Hearst-Willits Rd., which is the road our route takes to get to Canyon Rd., goes N just before Canyon Rd. starts and immediately leads to Reynolds Hwy, which is more of that flat-straight ag stuff.
If you’r’e like me, you’ve driven past Clear Lake many times, but you’ve rarely gotten off the three highways that circumnavigate the lake: Hwy 20 on the north shore, Hwy 29 on the south shore, and Hwy 58 on the east shore. Now is the time, because on the peninsula that juts into the lake heading west from the town of Clearlake (no space) there is a lovely little network of roads crying out to be ridden.
Clear Lake has two outstanding rides: Clear Lake to Cobb and this one. The two rides couldn’t be more different. The ride to Cobb is a sweet steady climb through lush forest to a tiny mountain community and back. This one is a mix of riding conditions—some small-town streets, some flat shoreline, some short steep rollers, and some climbing through dry (though pretty) oak-and-grass landscapes with big vistas of the lake below you and in the distance. And there’s some history here as well—the eponymous Sulphur Banks, where Native Americans and later Europeans dug for Cinnebar, Sulphur, Borax, and Mercury, and one of the oldest archeological sites in the US, with signs of habitation dating back 12,000 years!
It all starts in the town of Clearlake. It’s a conventional little town, with a fresh spritely energy. It’s the kind of town that has several barbershops, all called something like Clearlake Barber Shop. You won’t find artisanal bakeries, and I’ll bet the locals don’t know what a “barista” is. I like it a lot. So I’ve started the ride in the center of town, at the unmissable Austin City Park, where there is plenty of parking, so I could include a few miles through downtown streets. If you’re not hot on riding busy streets, fear not—Lakeshore Drive, the first leg of the route, gets quieter, prettier, more interesting topographically, and more isolated the farther west you go.
Lakeshore Drive
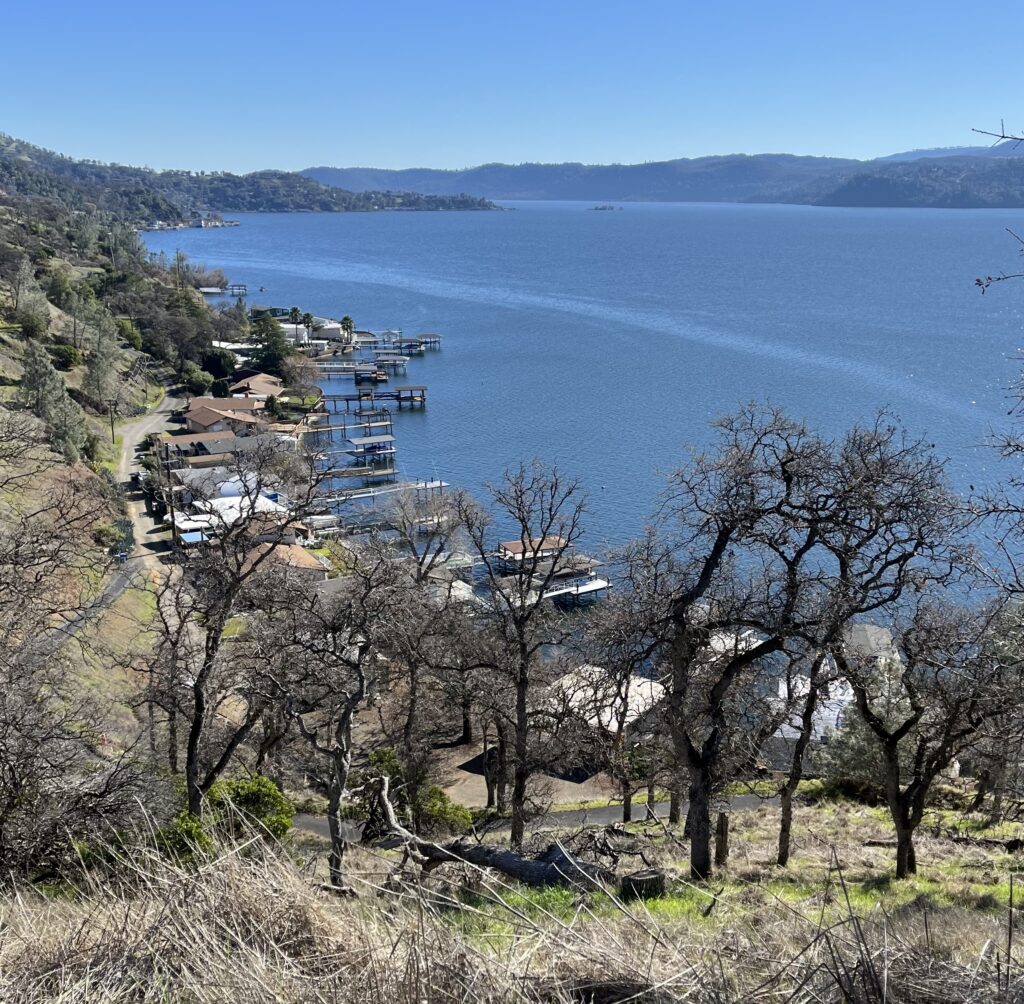
Throughout its length Lakeshore alternates between hugging the waterline through enclaves of small lakefront vacation bungalows, each with its own ramshackle pier, and climbing up the hillside for nice views of the lake and the bungalows below you.
North Road
Lakeshore ends at an intersection with North Rd., and we are eventually going R onto North, but not yet. An obviously secondary road continues westward (the direction you’ve been riding in up to this point). Signed as Crestview Rd., it’s short but choice and you should ride it. it’s a little narrower, a little steeper, and a little more meandering that what you’ve done, and the vistas of the lake are ideal. It ends at a gate and a “private community” sign. Speak a curse on the moneyed elitists and turn around.
Sulphur Bank Drive
Back at North Rd., take it. It’s very different from Lakeshore, in that it’s not along the shore—it’s up the hill, so the shore, the bungalows, and the piers are well below you and usually out of sight. It’s almost completely untouched wilderness. Because it doesn’t have to follow the shore, it’s flatter than Lakeshore, which means it meanders side to side more. It’s perfect riding, and I don’t think I saw a vehicle. It ends all too soon at Sulphur Bank Drive.
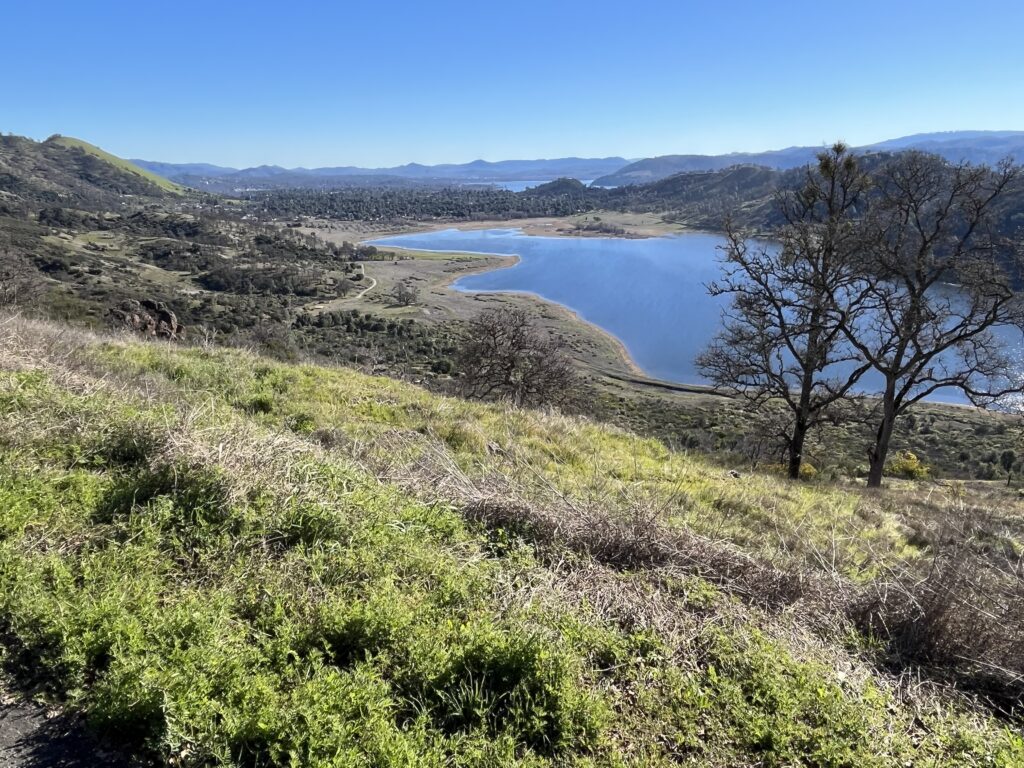
Sulphur Bank Drive looking south, with Borax Lake in foreground, Clearlake in the middle distance, and the SE tip of Clear Lake in far distance
A word about ride scheduling: North, as its name implies, is on the north side of the ridge, which means it’s in shadow for most or all of the day. This is a lovely thing on a hot summer’s day, but in the winter it means it’s probably wet. On the January day when I rode it, with no rain at all in the recent weather systems, it was still soaking wet from dew at 2 pm and slippery as a result. On the other hand, in the winter the oaks have dropped their leaves (still gorgeous) and so the vistas on North Rd. and Sulphur Bank are superior.
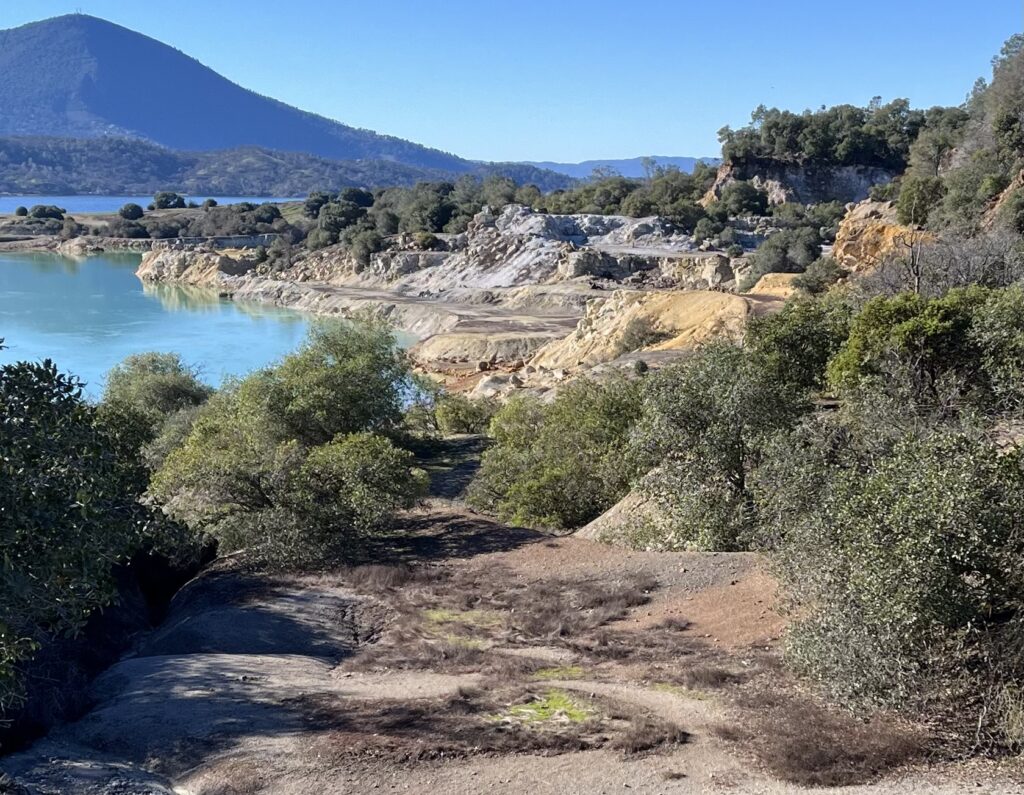
The sulphur bank
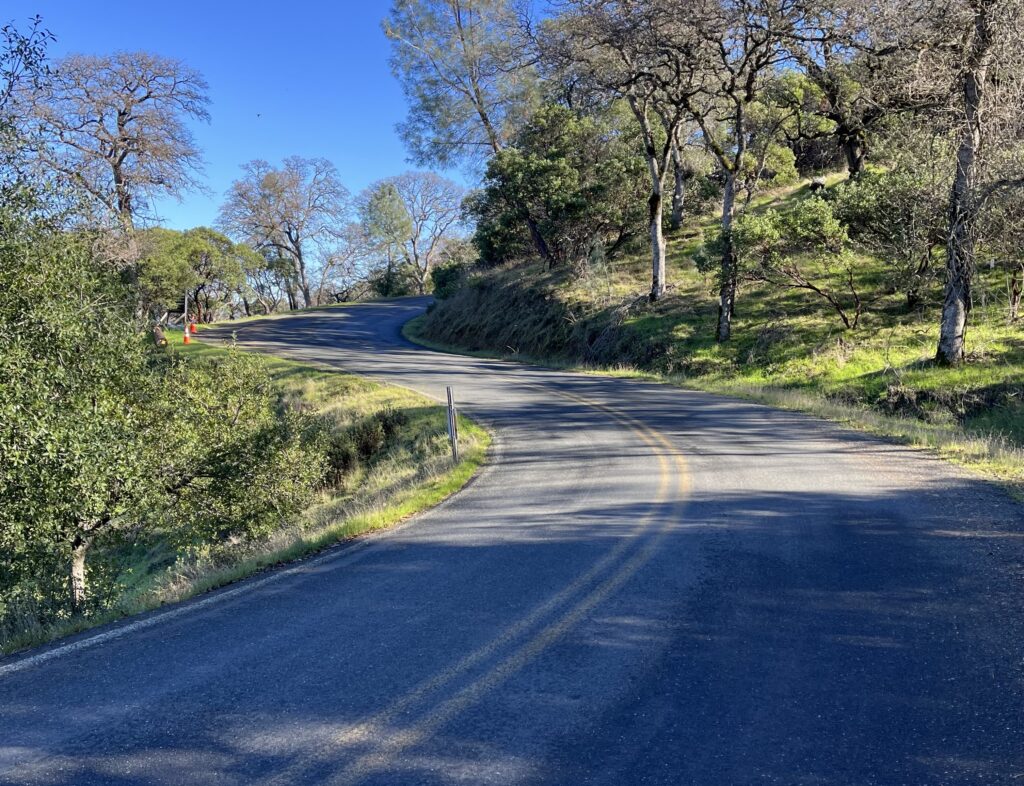
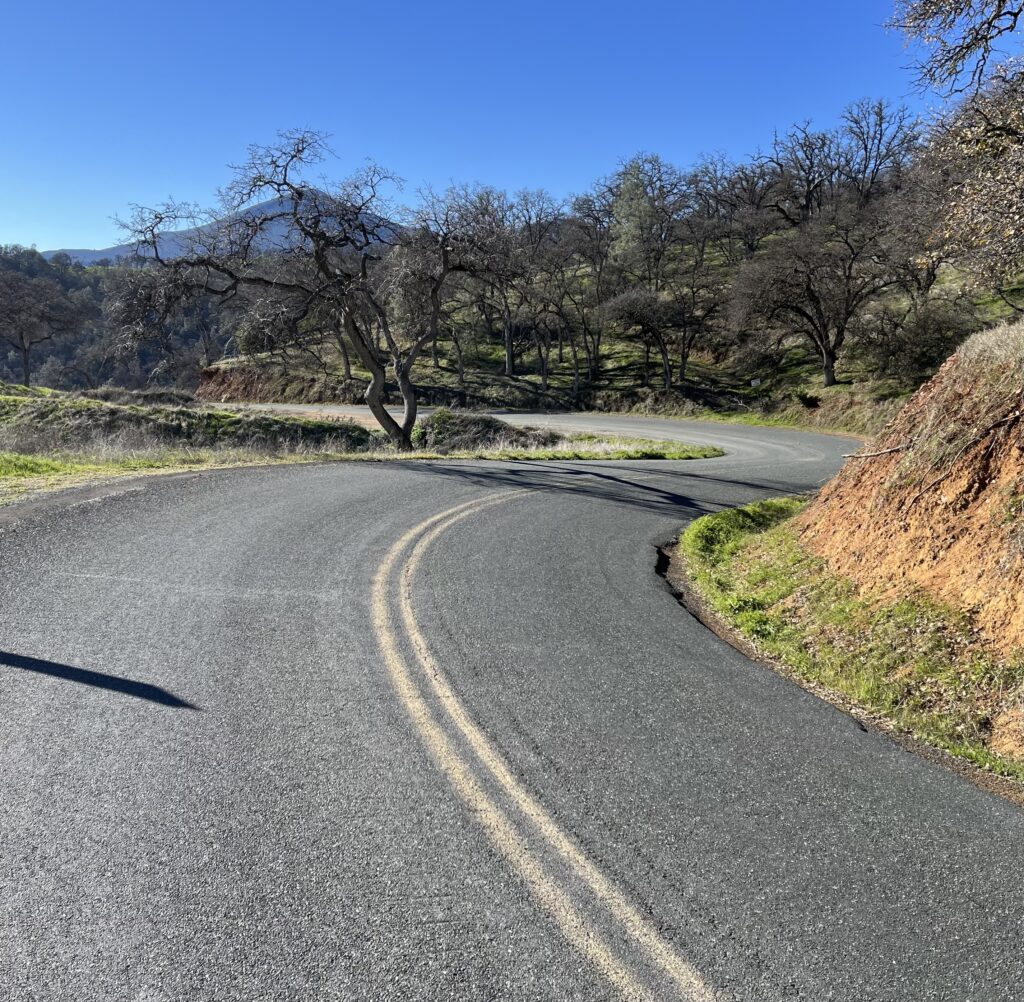
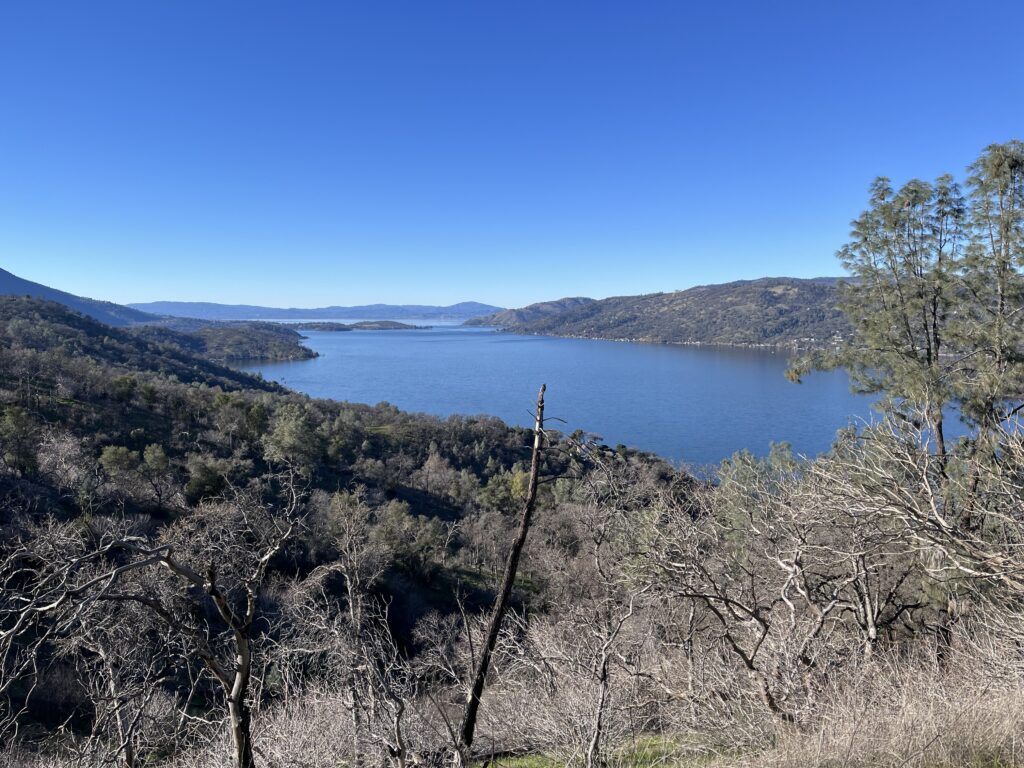
At the intersection of North and Sulphur Bank, you go L onto Sulphur Bank. You’re already near the summit of the SBD climb, but what remains is cherry, with great views of Borax Lake, the town of Clearlake, and the south arm of Clear Lake itself on your right and far below you. The back side of the hill is ideal riding, both climbing and descending—a little over a mile of 6-7%, with constant esses. As soon as you start down you get grand views of the north arm of Clear Lake, the community of Clearlake Oaks, and the Sulphur Bank between you and them. The bank, a shoreline hillside prominently dug away, is actually down a side road, Sulphur Bank Mine Road, signed with many protestations of privacy and promises of dire punishments meted out to trespassers, but the good views of the bank are a mere 1/8th of a mile down the road and you can easily pop down and poach a look-see. You can read about the history of the Bank here.
From summit of Sulphur Bank Drive looking north over Clear Lake
At the bottom of the hill you roll through pretty ranch land to a T at Hwy 20, and you turn around and climb back to the summit. The descent from the summit to Borax Lake is the stuff of dreams—1.6 mi. of serpentining so good I’d put it in Bestrides’ list of Best Descents if it were a bit longer. At Borax Lake you can look around for the archeological site but you won’t see it—you can read about it here. At least try to wrap your head around the idea of humans living their lives here 8,000 years before the early Egyptians.
Shortening the ride: You’ve got two excellent options. You can ride Sulphur Bank Drive alone as an out and back. You can ride the Lakeshore/North loop by itself, which gives you much less climbing.
Adding miles: Along the spine of the peninsula runs Crestview Rd. It forks off from Lakeshore a few miles into our ride and returns to Lakeshore right at the North Rd. intersection. It’s mostly dirt, but it looks to be good dirt. It’s on my to-do list. Oddly (for dirt), it’s covered in Streetview, so you can preview it. I don’t know of other good riding in the immediate vicinity. The Clear Lake to Cobb ride discusses good riding further afield.
Our route cuts off 2/3 of the south-side Sulphur Bank Drive climb, and it’s a very sweet climb, so you might like to turn around when you get to Borax Lake, climb back up to North Rd., and turn around again. That way you’d get to do most of the grand Sulphur Bank descent twice.
Distance: 18.3 out and back Elevation gain: 1680 ft
This ride is nowhere near the old Squaw Valley skiing area.
This is a fairly generic ride—pleasant rolling along a wide, well-surfaced two-lane road past a long grassy meadow, then up and over a noticeable hill through nice, unremarkable Norcal forest. Well worth doing if you’re in the area, not worth driving out of your way to do. It has two selling points: it’s only 8 miles off Hwy 5, so it makes for a nice break in the drive if you’re traveling between Oregon and lower California, and it has one striking vista, of Mt. Shasta looming over the meadow (see photos below). It’s a short ride with a moderate work load (3 miles of moderate climbing), but you can keep riding beyond our turn-around point if you want more miles (see Adding Miles).
Drive to the small town of McCloud and park on Squaw Valley Rd., a road whose name is surely not long for this world. This being a real rural small town, there is plenty of dirt shoulder. Ride 9.1 miles to Lake McCloud; return.
The first 5 miles are along a long, pretty meadow that was still mostly green when I rode it in mid-August. The road is basically straight and imperceptibly downhill, so it’s an easy warm-up.
Basic normal forest
When the meadow ends, you enter solld Norcal forest and you do the one hill, 1.5 miles at a noticeable pitch (6-8%), then a nice 1.5-mile descent (again, 6-8%) to the lake.
Typically in a ride to a lake the lake itself is the high point, but Lake McCloud is the ugliest lake I’ve ever seen, so arriving there isn’t uplifting.
At the lake the road forks, and each fork follows one of the lake’s shorelines. The L fork (east side of the lake) immediately turns to well-maintained dirt and is blocked by a gate and a sign reading “road closed.” I didn’t ride it but it looks inviting, for dirt. The R fork (west side of the lake) remains paved and immediately climbs for a mile, then returns to the lake shore. I did a couple of miles, none of it remarkable, and turned around. I got no views of the lake, but you wouldn’t want them anyway. According to street view the road continues to the southern end of the lake on sketchy pavement, then crosses the dam and rejoins the east-shore dirt road, which continues south for miles and connects to an endless warren of other dirt roads.
The meadow, with Mt. Shasta behind
The ride back to McCloud is as you would expect—1.5 miles of moderate climbing, 1.5 miles of nice descending, then an imperceptible climb along the meadow—with one lovely surprise: When you get to the meadow you see that, unbeknownst to you on the ride out, Mt. Shasta has been dramatically dominating the skyline to the north. Enjoy the view and return to your car. By the way, halfway down the descent on the return ride is the mother of all cattle guards, which you’ll hit at 35 mph if you don’t see it coming, which you don’t want to do.
Shortening the ride: for a completely effortless outing, ride to the end of the meadow and turn around.
Adding miles: Ride to the dam at the southern end of the lake (4.3 miles from the turn-around one way, 1 mile of climbing) . Add as much of the dirt road continuing south as you wish. It’s all pretty much the same.
This isn’t a life-changing ride—just a sweet little lollipop with a varied contour through nice Clear Lake woods, past a lot of unpretentious ranches, and (briefly) along a charming creek. I’d be more enthusiastic if the road surface were better—it’s only OK, but a very worthy little hour’s outing nonetheless. The elevation total is mild, but the ride is mostly rollers and you’ll have the chance to work some. It’s nowhere near as swell as our Clear Lake to Cobb ride, which is just down the road, so do that one first, then this, unless you’re trying to avoid climbing.
Start at the intersection of Kelsey Creek Rd. an Hwy 29. There’s dirt shoulder parking.
A short stretch into the ride you’ll see Wight Rd. prominently forking off to the R. Don’t take it but note it. Our loop ends there.
Kelsey Creek Road
At some point in the ride the road changes its name to Adobe Creek Rd.
Turn R onto Wight Rd. and ride Wight back to the Wight/KCR intersection. Return to your car on KCR.
There are at least two ways to make the ride longer by enlarging the loop: instead of turning on Wight, continue north and turn R on Bell Hill Rd. or (still further) Merritt Rd. Both routes have substantially less interesting road contour/scenery and I don’t recommend them.
Adobe Creek Road
Shortening the ride: Not much need to, but the best miles are the loop, so you could start at the Kelsey Creek Rd./Wight Rd. intersection.
Adding miles: From our starting point it’s about 4 miles of flat to Clear Lake State Park, a lovely park and campground where you can pick up Soda Bay Rd., a pleasant 9-mi. (one-way) stroll along the lake shore and through some classic old Clear Lake settlements to an intersection with Hwy 29.
(Warning: Once I did this ride and parked at the Keswick Dam Trail Head parking lot. My car was broken into. Don’t leave valuables in your car there. I believe parking at Turtle Bay is safe. JR)
Normally I don’t like rec trails, because they’re crowded and fussy. But the occasional rec trail rises above the regrettable norm, and Bestrides discusses seven that I really like: the Monterey Bike Trail, the American River Parkway, the El Dorado Trail, the Nimitz Trail, the Willamette River Trail in Eugene, the Coyote Creek Trail in San Jose (use the search window for the last three), and this one. As with all rec trails, the Sacramento River Trail (also called the Sacramento River Parkway) can get unpleasantly crowded on weekends, but if you can catch it on a quiet day, it’s a wonderful ride, with an immaculate road surface, grand vistas, and (three-quarters of the time) an intriguing contour.
Besides crowds, the curses of rec trails are monotony and flatness/straightness (since most are trail-to-trail conversions). The SRT has neither problem. The route is a constant series of entertaining surprises: Turtle Bay Exploration Park with its vast array of educational attractions, McConnell Arboretum and Botanical Gardens next-door, a giant sundial, three river crossings on bridges (one world-famous, one a suspension bridge straight out of Indiana Jones), one spooky tunnel, endless views of the Sacramento River (since you’re riding along its very lip), distant views of Mt. Lassen to the southeast, views of Mt. Shasta at the turn-around, a ride along the top of one of the world’s largest and most scenic dams, interesting historical placards to further your knowledge, cards naming and describing the trees and shrubs along the path, one mighty hydroelectric generating plant, and bald eagles in flight. And the SRT is, about 2/3 of the time, as far from flat/straight as you can get, a delightful roller coaster of up and down and back and forth (it’s more work than the elevation total suggests). When it is flat, it’s still perfectly pleasant.
Avoiding the crowds is key here. Two solutions are obvious: 1) ride on weekdays and 2) ride farther than the walkers can walk. The SRT is one of those trails that begins at the edge of the city and gets more and more isolated the further you go. Most of the walkers are in the first 3 miles of the route, and by Keswick Dam they’re almost entirely gone. The third solution is unusual: ride in the winter. The flora is as pretty in January as it is in June, but the crowds are indoors, so if you can find a clear, dry winter day the trail should pretty much belong to you and the hard-core runners. In addition, in the winter the surrounding summits are crowned with snow and the vistas are vastly improved. And it isn’t 105°, as it often is in August.
The frequent trailheads along the route all have bathrooms. Water resupply is available at Keswick Dam, Shasta Day Use Area, and (I’m told) the Shasta Dam Visitor Center.
Our route crosses the top of Shasta Dam, but RidewithGPS doesn’t recognize that as a “road” or it thinks it’s closed to the public—for whatever reason it wouldn’t let me map it.
Click on any of the photos to see them enlarged.
The SRT changes its personality every few miles, so I’ll describe the route in sections.
Section 1: From the Sundial Bridge to the Diestelhurst Bridge. Park in the Turtle Bay parking lot (it’s free). Make a mental note to come back and explore the riches of Turtle Bay soon. Ride across the famous Sundial Bridge carefully—the road surface of the bridge is mostly glass and is therefore slippery if at all wet or frosty. Check out the giant sundial laid out on the earth at the north end of the bridge. Turn L onto the North Sacramento River Trail. Immediately pass the gates to the Botanical Gardens. Make a mental note to come back and explore the riches of the gardens soon. At the gate to the gardens is a poster with an excellent map of the SRT—take a photo for later reference if you forgot to download your ridewithGPS route map.
Sundial Bridge
This section of the trail is cozy, full of tight little turns, drops, and rises as it works its way through pretty riparian oaks and past playgrounds and other suburban signs of life. It’s likely to be the section of the ride most crowded with walkers, dogs, and children. Note the pretty quarter-mile markers along the route—they are one of at least 5 different sets of distance markers you’ll see on the ride, so you’ll never be in doubt about where you are on the route.
Section 1
Follow the unmistakable trail as it passes under two bridges. At the third bridge, the Diestelhorst, pass under, immediately go R and loop up onto the bridge. From the center of the bridge (which is closed to cars), note Mt. Lassen through the trusses of the two bridges to the east.
Section 2: From Diestelhorst Bridge to Keswick Dam. At the south end of the bridge turn R onto the unmissable South Sacramento River Trail and ride to Keswick Dam. Note the large sign at the trailhead giving you distances to all destinations ahead—it’s the first of many such signs. This is a popular trailhead for runners, because this leg is mostly flat and straight, so you may have company. It’s mostly free of development, traveling through pretty, small woods and later more open country, hugging the riverbank the entire way. Note the prominent mountain dead ahead of you (hopefully snow-crested if you took my advice and are riding in the winter). Watch for bald eagles from here to the turn-around.
Section 2
As you approach the impressive pile that is Keswick Dam and Power Station, you pass a lovely little suspension bridge across the river, called either the Sacramento River Trail Bridge or the Ribbon Bridge depending on your map. We’ll cross over on it on our return ride.
The Ribbon Bridge
Section 3: From Keswick Dam to Keswick Boat Launch and Trailhead. Officially the Sacramento River Trail ends here and the continuation is called the Sacramento River Rail Trail, but no name could be more misleading. This leg is by far the most dramatic, difficult, and rewarding on the route, and no rail line could ever consider traversing it. It begins with a challenging 0.6-mile hill, named Heart Rate Hill on the nearby placard, the first of two climbs on the route that you’ll really notice. RWGPS says it maxes out at 10.5%, and you’ll feel all of it.
Section 3
From Heart Rate Hill’s summit, the leg meanders dramatically, up and down, back and forth. You’re high above the river, on top of the canyon ridge, and it’s exhilarating. The terrain is sparse and dry, made more barren by the recent fires that pounded Whiskeytown, but it’s a grand barrenness, and the constant views of Mt. Lassen and Brokeoff across the river to the east are splendid. By now you should have out-ridden all but the heartiest of trail users, so you can really attack the course. This is great riding and is the one leg of the SRT you can’t afford to miss.
Section 3
Section 4: From Keswick Boat Launch to the Shasta Day Use Area. This leg fits the rail-to-trail stereotype—basically flat, straight, and homogeneous—as it works its way through riparian shrubs and low trees along the river’s shoreline. Trailside placards naming and describing the local flora pop up. The monotony is broken by a cool little tunnel, long enough to get pleasantly tingly but never pitch-dark. You’re nearing the northern end of the trail, so you may pick up some walkers or casual cyclists coming from the Shasta Use Area campgrounds just ahead of you.
The bike trail debouches onto a major road (Coram Rd., never signed) at the Shasta Dam Trail Head of the SRT. Follow the road to the R, which in 1/4 mi. arrives at the Shasta Day Use Area, a major complex with campgrounds, bathrooms, and water. It’s a gathering place for off-road four-wheelers, but they keep to themselves for the most part.
Shasta Dam
Section 4 would be the most skippable on the route except we need it to get to the next leg, which you don’t want to miss.
Section 5: Shasta Day Use Area to Shasta Dam. Ride through the Day Use Area (drinking water available) on Coram Rd. and follow it to the dam, a very sweet, moderate 1.5-mile climb serpentining up beside the dam face to the road across the top of the dam itself. Halfway up the climb the road changes its name to Shasta Dam Access Rd., again unsigned. At the dam, ride across it to the other side, then ride back—1.2 mi. round trip. The dam road (officially still Shasta Dam Access Rd.) is surrounded by guardhouses, barriers, and guards armed with automatic weapons, so it looks forbidding, but you are in fact welcome to ride there and poke around (a sign says, “No knives, guns, or food”—I didn’t ditch my Clif Bar). Smack on the far side of the lake is Mt. Shasta in regal grandeur, and the views down the face of the dam are unforgettable. It’s an iconic dam, everyone’s image of what a dam should look like. On the far side is a Visitor Center where you can replenish your water, if it’s open—in an act of incredible (and typical) governmental idiocy, its current hours are Mon.-Fri. 8:30-4:00…in other words, exactly when almost no one can visit.
Mt. Shasta from the top of the dam
Turn around and ride back down the hill. It’s a perfect slalom on perfect pavement, over too soon. Return to the SRT and ride it backwards past Keswick Dam to the Ribbon suspension bridge. Cross the river on the bridge and begin the next leg.
Section 6: North Sacramento River Trail to the Diestelhorst Bridge. You are paralleling Section 2 directly across the river, but the terrain couldn’t be more different. Whereas Section 2 is flat and straight, this leg is the most twisty/turny up and down riding you’ll do all day. I loved it. If you love it too, there is an argument to be made for skipping the tamer Section 2 on the ride out and doing Section 6 in both directions.
Section 6, with Mt. Lassen in background
The NSRT debouches onto a suburban neighborhood street. Continue down the street and keep an eye out for the continuation of the trail, which takes off to the R in 1/4 mile with no signage. Don’t fall for the trail-look-alike driveway just before it.
This leg runs back into our outward path at the base of the Diestelhorst Bridge. Return the way you came to your car.
Shortening the route: Since there are car-accessible trailheads with parking lots scattered along the route, you can start/stop your ride at any of them and tailor the route to suit your aesthetics, conditioning, and tolerance for crowds (see my warning about theft at the beginning of this post). The 6 sections from best to worst are IMO #3, 5, 6, 1, 2, and 4. Which means there is no way to ride just the good stuff. My ideal short routes would be a) #3, 4, 5 out and back and b) 1, 6, and 3 out and back.
Adding miles: You can add on 6-8 unthrilling miles to our route by continuing on past the dam Visitor Center and going R/south on Hwy 151, Shasta Dam Blvd., to Summit City (so called on maps, but signed “Shasta Lake” as you approach town), then either turning around or heading north on Lake Blvd, which will return you to the dam. Shasta Dam Blvd. is a generic moderate climb and descent on a big two-lane road with car-friendly contours (big sweeping turns). If you ride it as an out and back, it adds c. 1100 ft. of elevation. Lake Blvd. is even less exciting. The only real reward in doing the loop, besides getting additional miles in, is the spectacular vista point halfway up the Shasta Dam Blvd. climb looking back on the face of Shasta Dam, the lake behind it, and Mt. Shasta in the distance. I suggest riding to it, taking in the view, and turning around.
View from the Hwy 151 vista point
If you make it to Summit City, take the time to continue east 1/4 mi. on Shasta Dam Blvd. to the town’s Little League baseball field to see if there’s a game going on—if there is, it’s a heart-warming Norman Rockwell scene of small-town Americana. Water available.
If you’re determined to loop the entire ride and don’t mind riding a lot of mediocre stuff, you can ride to the dam and take this return route. It does a good job of avoiding the larger roads. Notice that for the fun of it I’ve included an out-and-back on Walker Mine Rd., which is a good bit better than anything else on this route.
There is some additional bike path to the east of the Sundial Bridge, on both sides of the river, and it’s all fun stuff—consult the map by the Botanical Gardens—but it isn’t a significant number of miles.
Distance: 34 miles out and back Elevation gain: 3224 ft
This ride is an offshoot of the Forks of Salmon loop ride, and has the same virtues: rugged, rocky landscape, minuscule road width, little traffic, major exposure. Since it’s short and relatively easy to get to, it makes a nice alternative if you found the FOS ride seductive but didn’t want to invest the 100 miles. The vert is somewhere between easy and hard—RWGPS gives the elevation total as 3200 ft, which isn’t daunting, but I promise it feels like even less than that.
Of its 17 miles, 10 of them are just very nice canyon riding along a river on a large, polished two-lane road. But the other 7 miles are extraordinary—hair-raising serpentining along a vertical canyon wall on a true one-lane road with no guard rails or any kind of protection, with massive rock on one side and a 200-ft drop-off to the river at the very edge of the road on the other. I loved it, but it’s not for people who have trouble with exposure.
Salmon River Road takes off from Hwy 96 at Somes Bar and follows the river upstream for 17 miles to Forks of Salmon, an intersection with a few buildings but no services. The road is often mildly up and down, but it’s never hard work and no pitch lasts very long. RidewithGPS says the ride has over 3,000 feet of gain, but I don’t know where they are. It’s only slightly more work going upstream than it is going downstream. The Salmon River is dramatic and grand, and views of it far below you along the route are frequent and excellent.
The good 7 miles
The first 7 miles are domesticat-ed riding, on a polished road surface with a double center line and road shoulders through a broad valley where the river is tranquil. At mile 7 a sign says, “Narrow winding road next 35 miles,” all the road amenities stop, and the good stuff begins. The canyon steepens dramatically, the river falls away beneath you, the tread becomes iffy (which feels perfectly appropriate), and the road width becomes truly one-lane, with no guard rails or shoulder of any sort. I saw two pick-ups meet, and one had to back up a quarter of a mile to find a turn-out. Don’t rush through these miles—drink in the exposed rock, the views of the river, the absurd drop-offs on your L. It’s quite a place.
At mile 13, around Nordheimer Campground, things mellow out and go back to something like the first miles. When you see an unintentionally hilarious sign reading “Congested area” you know you’re nearing Forks of Salmon, which is an intersection with two or three houses, a couple of barns, and—surprise!—a modern school (who’s going to this thing?). Turn around and ride home.
If there’s a down side to this ride, it’s that there’s not much in the way of carving turns on the descents. Most of the down isn’t steep enough to be dramatic, and when it is the road tends to be pretty straight. I only had a couple of “Whee!” moments.
Traffic should be next to nothing. When I was there, a forest fire was burning adjacent to the road, so I saw a fair amount of forest service and Cal Fire vehicles—perhaps 20—but on a day without fires I’d expect 3-4 cars in 34 miles.
There are no services on this route, but there are a number of places where emergency help could be gotten: a fire station, a few campgrounds (with brick outhouses), private houses at Forks of Salmon, and the Otter Bar Lodge a few miles before Forks of Salmon. It’s a kayak school, and it doesn’t cater to other guests, but it’s there in a pinch. The only sign from the road is a large mailbox reading “Otter Bar” and a dirt road, but you notice the buildings deep in the trees on the river side.
Shortening the route: Drive to the “narrow winding road” sign and start there. It will save you 14 miles.
Zero shoulder, 100 ft straight down to the Salmon River
Adding miles: This is a great bike riding area with lots of opportunities. At Forks of Salmon you are at the midway point in the Forks of Salmon loop—ride as much of it as you’d like, in either direction. If you’re not going all the way to Etna or Callahan, I’d recommend the southern route (Cecilville Rd.) over the northern (Sawyers Bar Rd.) because it’s right along the banks of the river and offers excellent swimming.
At Somes Bar, Ishi-Pishi Rd. parallels Hwy 96 for about 7 miles of tiny, meandering road deep in pristine woods. Quite lovely, but a significant ascent, so be sure you’re up for it.
Hwy 96 itself is a popular through-ride for long-distance cyclists. In fact the Etna-Happy Camp-Forks of Salmon-Callahan-Etna loop is a bucket-list ride. But most of 96 is only pleasant riding, a 60-mph highway that is pretty but too straight and too big for any sort of drama. The one stretch of it that looked fun to me was between Orleans and Hoopa, and it also looked deadly—tightly winding with no sight lines, no shoulder, with a guardrail on one side and a rock wall on the other, on a well-trafficked road and impatient drivers.